Users
Overview
By default casual visitors are allowed to register themselves on your website to gain access to additional resources. For example, registered users might be allowed to submit resources or simulation tools. Your website implements a user registration policy which can be adapted to suit your particular requirements so you decide what additional resources are made available. You can disable user registration altogether if you prefer.
Users register themselves on your website using the "Register" link typically found in the upper right-hand portion of every page (position may vary). Once registered, users will log in to your website by entering their username and password using the login form found at http://yourhub.org/login. There are also links on the form to manage users who forget their usernames or passwords.
See Configuring Registration to learn more about changing registration settings.
User Manager vs Members Component
User Manager
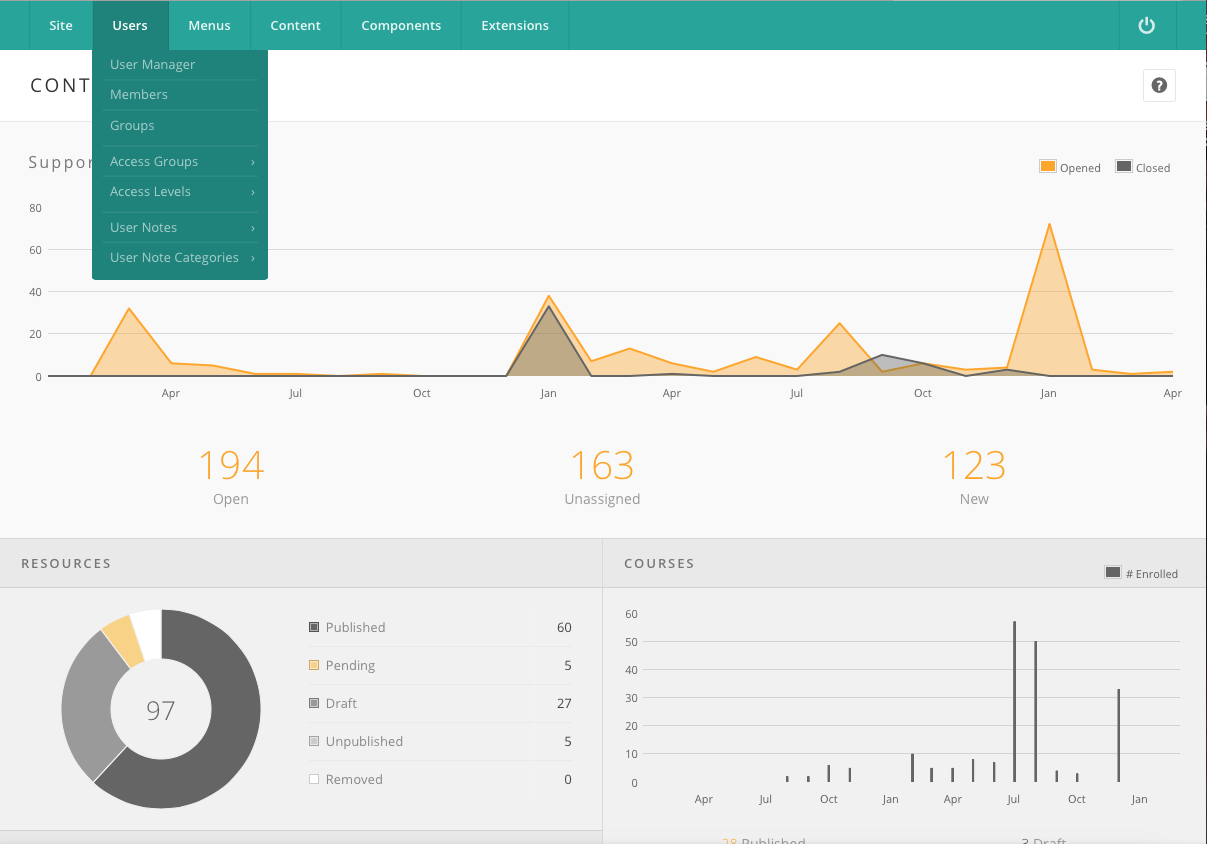
A legacy go the Joomla! framework that powered previous HUBzero versions, the CMS comes with a User Manager accessed via the back-end from the "Users" drop-down of the main menu.
Members Component
HUBzero extended the standard Joomla! user profile with options for more demographic information (race, sex, etc.) and various other key pieces of information needed for such things as simulation tools. All this information can be accessed under "Members" in the "Users" list found in the main menu of the back-end administration.
When to use which
All user will have an entry in both the User Manager and the Members Component. Any information edited with one, such as changing a user's name via the User Manager, will also be automatically reflected in the other. Since the majority of fields in the User Manager are also represented in the Members Component plus considerably more fields, it is recommended that all user editing be done in the Members Component. The one exception concerns adjusting a user's access level (regular user vs. administrator, etc.). This is still done only with the User Manager.
Note: The, admittedly, confusing separation of Users and Members should be resolved in a future version; Functionality from the two components will be merged, providing a single interface for access user information.
Managing Members: User Permissions
Users who work closely with the administration of the Hub need to be given access prior to having these permissions. In order for users to gain these permissions, another Administrator of the Hub can give other members the same permissions. To give a user Administrator access, follow these steps:
- Navigate to the administrative interface of the Hub, also known as the Backend
- Once there, locate the Users tab and click it to open up a drop-down list
- Click from the drop-down the User Manager button
- On the "User Manager: Users" page, click on the name of the user that you wish to give Administrator access to
- Inside the user's account information page, locate the "Assigned Access Groups" box and click the check box of "Administrator" or the desired group field you want the user to have permissions to
- After this step, click on the button "Save & Close" to save the changes you made