Resources
Overview
Ask yourself if you would search the web to find the information you have and if it is relevant to your Hub community. If the answer is “yes” (Oh boy! Another tech report!) then put them up as a Resource for your community to enjoy. Some tech reports can be a goldmine of good information. If these are not your own tech reports, seek permission from the original authors before posting them—perhaps just a simple email exchange letting them know what you’re planning to post and asking their permission. As you upload each report, be sure to copy the abstract into the resource description so users can see at a glance what the report is about. Credit the authors of the report as authors of the resource; remove yourself from the list or give yourself “contributor” status if you had nothing to do with the original report. Give each report good tags, so users browsing the tags can find related work. But if you consider the question about the utility of this content more carefully and the answer is a weak “maybe,” then upload a few reports or move them lower in your priority queue. If the answer is “no,” then skip them.
Resource Default Types
Users may contribute many types of resources. The type of Resource a user can contribute will vary from Hub to Hub, yet the default resource type list includes:
- Courses: University courses and short courses with lectures and associated teaching materials.
- Downloads: Spreadsheets and other items that are available for download but don’t fit into other categories.
- Publications: Articles, technical reports, theses, and other documents, usually in PDF or DOC format.
- Seminars: A type of lecture, usually recorded with voice or video.
- Series: Collections of lectures, publications, and other resources presented as a list.
- Teaching Materials: Supplementary materials such as study notes, guides and other documents that are used in training or teaching.
- Tools: Simulation and modeling tools that can be accessed via a web browser.
- Workshops: A collection of lectures, seminars, and materials that were presented at a workshop.
What is a Parent Resource versus a Child Resource?
In any filing system, a naming device is used to explain the main files and their subfiles. The main file is the Parent to all of the subfiles within that folder. These subfiles are called Children. At Hubzero, we use this standard naming device to describe the relationship between Resources and Sub-Resources. The main resource is the Parent and any sub-resources that are directly placed under the Parent are called child or children resources.
Creating a Resource
Note: You must be logged in to your HUB account to create a Resource.
Starting a Resource
- Navigate to https://yourhub.org/resources/
- Click Submit a Resource
- Click Get Started
- On the Resources: New page, click on the type of Resource that closely matches the Resource being submitted
Step 1: Compose
- Under About, provide a title in the Title textbox
- In the Abstract/Description textbox, provide a description of the contribution. This is typically one or two paragraphs
- Images can optionally be included within the Abstract/Description textbox:
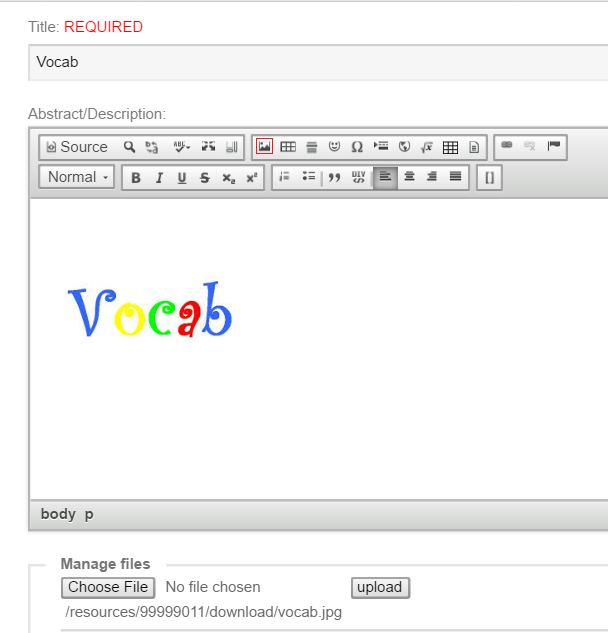
- Under Manage Files click Choose File
Note: This is NOT where the main Resource file(s) are uploaded. That is done during the next step: Attach.
- Locate the image to include and click Open
- Click Upload
- A URL of the image will appear under the Manage Files section. Copy this URL
- Click into the Abstract/Description textbox so that the text cursor is located where the image should appear
- On the text editor menu for this textbox, click the image icon
- Paste the copied URL of the uploaded image into the URL textbox
- Click OK
- Under Manage Files click Choose File
- Under the Details section, provide any additional information in the relevant textboxes. These fields will differ depending on the type of Resource
- Click the Next button below to save a continue to the next step
Step 2: Attach
- Under Attachments a file or add a link can be added
- To upload a file, click on the Click or drop file box
- Select the file to attach and click Open
- Alternately, drag and drop the file from the your computer into the Click or drop file box
- When the file has successfully uploaded, it will show underneath Attachments
- To add a link click the Click to add link button
- Provide the URL of the link and click OK
- To rename files or links, double click on the name that currently shows, provide a new name, and click Save
- To change the access level of each attachment, click on the current access level highlighted in blue and with one click it will change between Public and Registered access
- Public= Anyone may view/download the resource
- Registered= Logged in users may view/download the resource
- Click the Up/down arrows on the right side of the attachments to rearrange how they are ordered
- Click the trash can icon on the right side to remove a file or link
- Click Next to move to the next step when finished adding and organizing attachments
Step 3: Authors
- Optionally, under Group Ownership select a group from the Group drop down to associate the resource with a group
- If a group is selected, the access level of the Resource can be changed by selecting the level from the Access Level drop down. This controls how much access non-group members have. The access levels are:
- Public - Anyone may view/download the Resource. Public is the only access level that can be used if a group is not assigned.
- Protected - Abstract is visible to all, files accessible to group members only.
- Private - Entire resource is only visible to group members.
- Under Authors, type the names of all the authors that contributed to this Resource in the Enter names.. textbox, separated by commas. If their name appear in the auto-completer drop-down, be sure to click on the name that shows so that it correctly associates with their HUB account
- Click Add when finished listing out the authors
- The authors will appear below the Enter names text box
- Optionally, provide the author's organization in the Organization textbox directly below the author's name
- Select the appropriate role (Author or Submitter) for each user from the Role drop down list (shows Author by default)
- Author: The individual who created or helped create the materials that went into the resource
- Submitter: The individual charged with creating the resource, but they did not have a hand in writing and developing the resource materials
- Click Save Changes anytime changes are made to the Organization or Role of users. Otherwise, the changes will not be remembered
- To change the order the authors are listed in, use the up/down arrows to push them up and down the list
- Click the trash can icon to the right of an author's name to remove the author
- Click Next below to move to the next step
Step 4: Tags
- In the Assigned Tags textbox, start typing a keyword, phrase, or category that can be applied to this Resource
- An auto-completer list box will appear with a list of suggestions. If the word appears in the list or a word appears that is closely related to it, click on the term in the list
- If no terms show in the list that close match the term provided, type the full word or phrase and them press Enter or type a comma to start typing another word
- After adding tags, click Next to move to the next step
Step 5: Review
- Under Authorization, read the paragraph:
I certify that I am the owner of all submitted materials or am authorized by the owner to grant license to its use and that I hereby grant example license to copy, distribute, display, and perform the materials here submitted and any derived or collected works based upon them in perpetuity. Example may make modifications to the submitted materials or build upon them as necessary or appropriate for their services.
-
Check the box next to it to indicate agreement.
-
-
From the Select License... drop down, select the appropriate license. The license can be viewed in the box directly below
- A preview of the Resource page can be viewed below
- Click Submit Contribution when the Resource is ready to be published
- A Resource cannot be removed from the HUB once it is published. A Resource can only be removed from the HUB by special request by submitting a Support ticket
Editing a Resource
Note: You must be logged into the HUB to edit a Resource and only the author or submitter of the Resource has the ability to edit.
- Navigate to the Resource page of the Resource to edit
- Click on the title of the section to edit (e.g. Compose, Attach, Authors, Tags)
- Click Next below when changes are made so they are saved
- Click to the Review section and click Save when finished