Super Groups
Overview
Super Groups are advanced Hub Groups, that have their own webspace within the Hub to showcase their Group. Super Groups have a lot of extra functionality built in to allow them to customize their group.
Super Groups have the ability to include PHP and javascript code into Group pages and modules. Pages or modules that contain PHP or Javascript code will then need to be approved by a Group page approver. Notifications are sent to approvers when a page needs to be approved. Another notification will be sent to the Group managers when the page has been approved.
Super Group templates must follow HUBzero's Super Group Template rules.
Creating a Super Group
- Log in to the backend of the Hub and hover over the Users tab and select Groups
- Click New to create a group
- Select the group type from the drop-down to be Super
- Fill in the CN or group alias, the title and logo of the group, along with the public and private group descriptions
- In Membership Control, check the box if the membership is to be controlled. The membership Join Policy determines access level for the group
- Public: Any user on the Hub can join the group.
- Restricted: Qualifications are given that predetermines who can join. These restrictions have to be added into the credentials.
- Invite Only: A group manager has to send an invite any new group members to the group.
- Closed: No one can join the group unless they are added from the back-end of the Hub.
- Determine the access level of the group from hidden or visible. A hidden group is not listed on the front-end of the Hub, and any content is unavailable to any user that is not a member of the group. A visible group can be found on the Hub through regular searches
- Once all the group’s content has been filled in, then save the new group by clicking Save & Close. The group will be automatically approved and visible on the Hub
- The following will be automatically created when making the super group:
- Base template with custom error handling & login
- Separate database for super group related components, data, etc
- If Gitlab integration is enabled, all needed connections will be made and super group folder will be controlled via Git.
Frontend Module Management in Super Groups
Accessing the Module Manager:
- Log in to the Hub and access the Super Group home page
- Click on the Manage Group Pages link in the group manager toolbar, to get to the page manager
- Select the Manage Modules tab to view the module manager
- Search for modules by using the search drop-down that searches for a module based on location and title
Adding a Module:
- Log in to the Hub and access the Super Group home page
- Click on the Manage Group Pages link in the group manager toolbar, to get to the page manager
- Select the Manage Modules tab to view the module manager
- Click the New Module button in the toolbar
- Fill in all required fields and click Save Page
Publishing a Module:
- Log in to the Hub and access the Super Group home page
- Click on the Manage Group Pages link in the group manager toolbar, to get to the page manager
- Select the Manage Modules tab to view the module manager
- Publish the module by clicking on the Unpublished icon. The icon will become a Published icon
- The module will now be available on the front interface of the Hub
Unpublishing a Module:
- Log in to the Hub and access the Super Group home page
- Click on the Manage Group Pages link in the group manager toolbar, to get to the page manager
- Select the Manage Modules tab to view the module manager
- Unpublish the module by clicking on the Published icon. The icon will become an Unpublished icon
- The module will now be removed from the front interface of the Hub
Editing a Module:
- Log in to the Hub and access the Super Group home page
- Click on the Manage Group Pages link in the group manager toolbar, to get to the page manager
- Select the Manage Modules tab to view the module manager
- Click on either the Manage Module button or hover over the arrow next to the button to see more options, including Edit Module
- One of the new features with the module manager is the page content WYSIWYG editor. It now uses CKEditor and HTML to manage your page content
- Modify the module with new changes, and then click the Save Page
Reordering a Module:
- Log in to the Hub and access the Super Group home page
- Click on the Manage Group Pages link in the group manager toolbar, to get to the page manager
- Select the Manage Modules tab to view the module manager
- Click on either the Manage Module button or hover over the arrow next to the button to see more options, including Edit Module
- One of the new features with the module manager is the page content WYSIWYG editor. It now uses CKEditor and HTML to manage your page content
- Modify the ordering of the module by using the drop-down, and then click the Save Page
Super Groups: Resource Template Inheritance
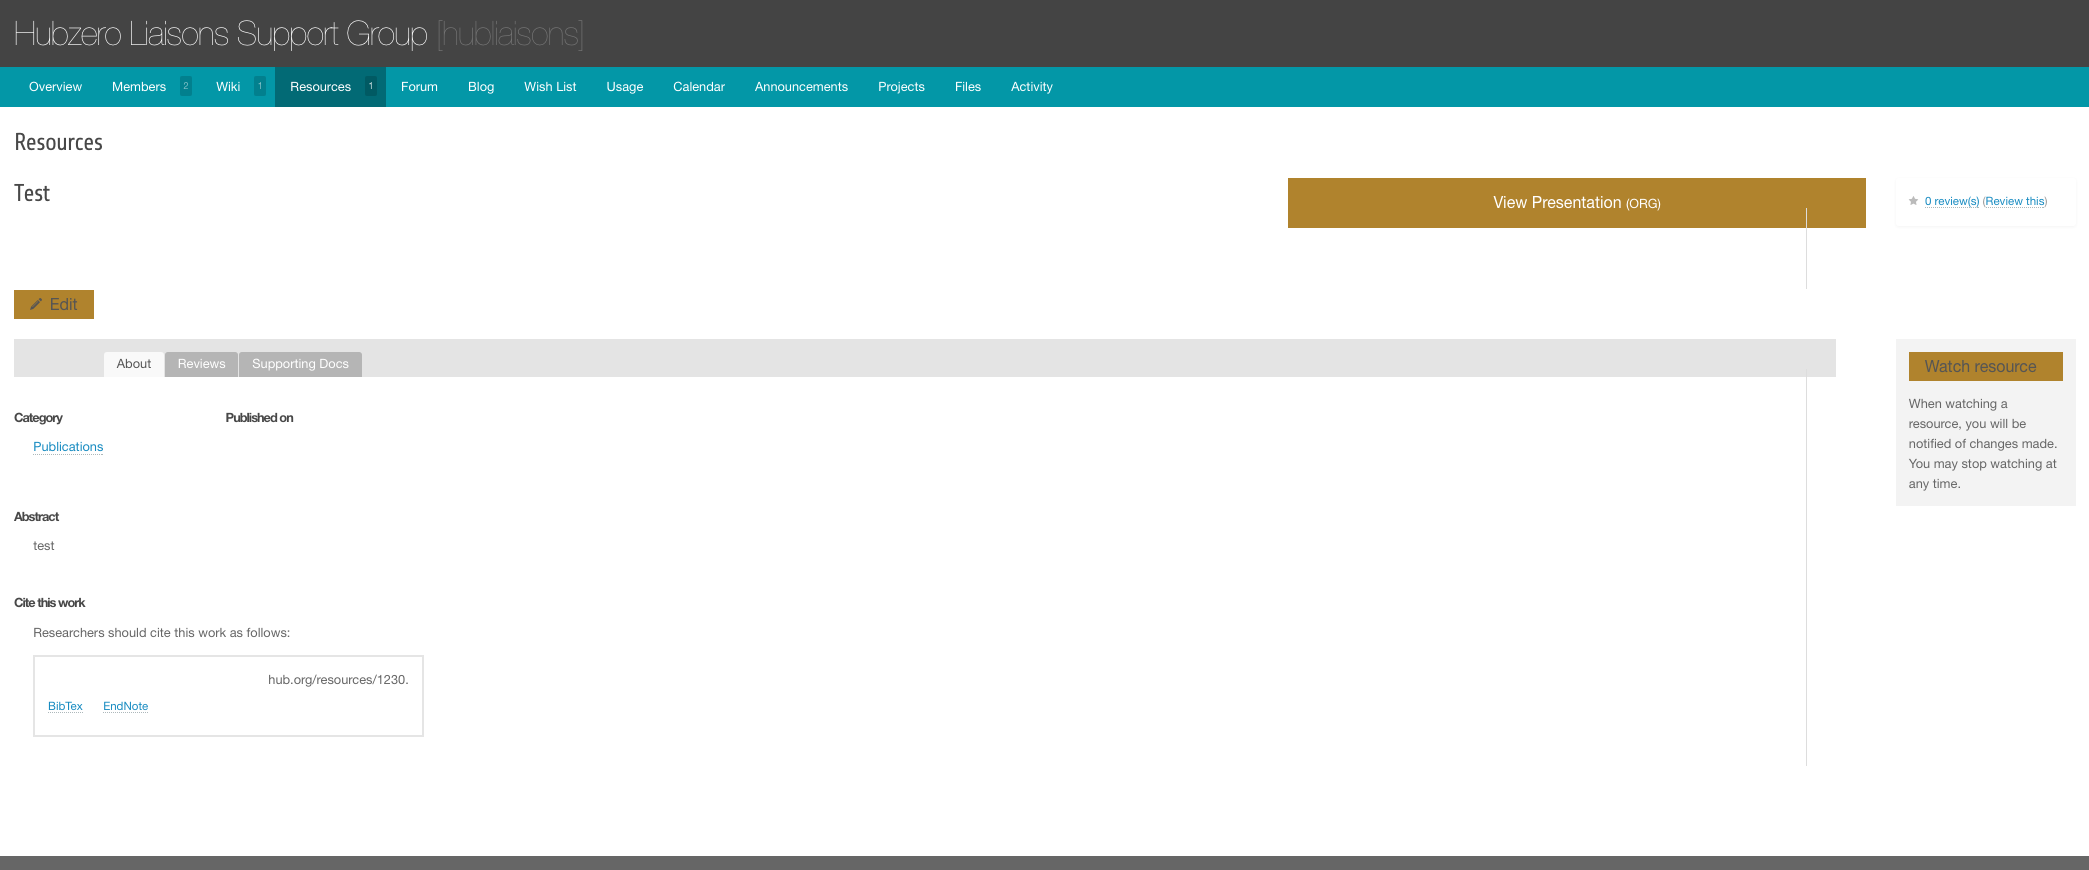
Originally when viewing a Resource from a Super Group, the Resource is seen with the master site template rather than the Super Group's custom template. Resource Template Inheritance allows users, when viewing a Resource from a Super Group, the Resource to inherit the Super Group's template to maintain consistent look and feel of the Super Group. '
