The Home Page
Setting a Home Page
By default in Joomla! 1.5.x the first page in the main menu is also the default home page for your site.
If you wish to change the current home page to a different article, you must add the desired article to the main menu and make it the first item.
Edit
First login to the administrative back-end.
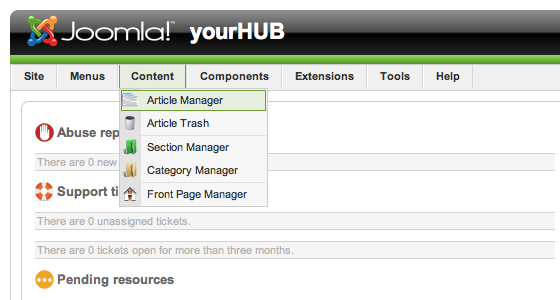
Once logged in, find “Content” in the main menu bar located toward the top of the page. You should be presented with a drop-down menu containing items such as “Article Manager”, “Article Trash”, etc.
Choose “Article Manager” from the available options.
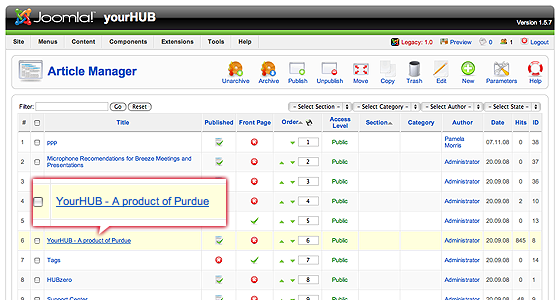
You should now be presented with a list of all the content articles on your site. There are a variety of methods to find the specific entry you wish to edit: you can filter by selecting section, category, author, or even state (published, unpublished, archive). The home page should not be in a section or category (uncategorized). You may also search for the title of your home page in the filter search box or navigate your way through the entire list. Once found, click the article title to edit it.
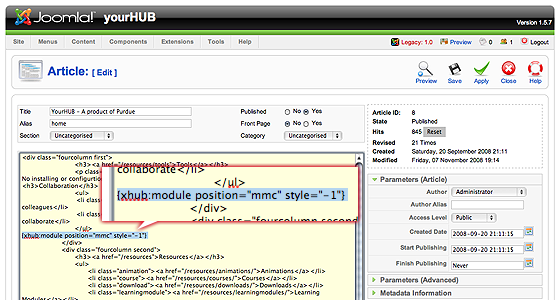
The home page may look a little different than other pages you’ve edited, such as the “About” page. Some of the content you see on the front page doesn’t appear to be in the page you’re editing! This is because the home page embeds modules to output some of its content. This is done with {xhub} tags:
{xhub:module position="frontLeft" style="-1"}
You may assign multiple modules to a position. The {xhub} tag will output all active (published) modules assigned to the position specified. The style attribute determines if the module(s) should be wrapped in a containing div or not and is optional.
Note: The animated banner and welcome message on the front page are also modules and managed through Joomla’s “Module Manager” found under the “Extensions” menu item.
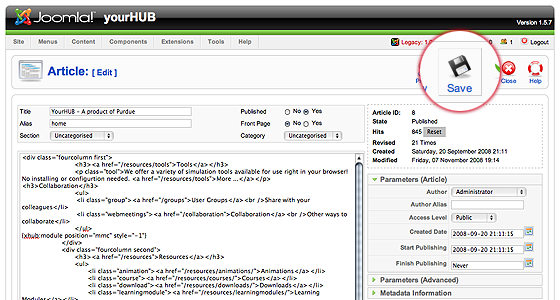
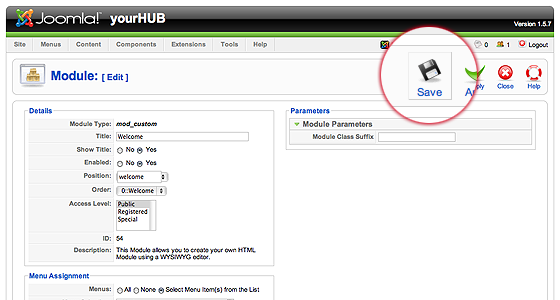
Once you feel ready to save your changes, scroll back to the top of the page and click “Save” (the icon that looks like a floppy disk) in the upper right portion of the page.
Banner
XFlash
The rotating flash banner is designed to highlight important announcements, recent or upcoming events, new website features or other information valuable to your hub community. The banner is commonly placed as a central feature on a hub’s homepage.
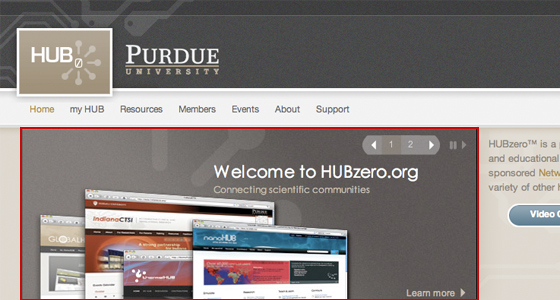
You can change the dynamic content of the banner through administrative interface. To do so:
First login to the administrative back-end.
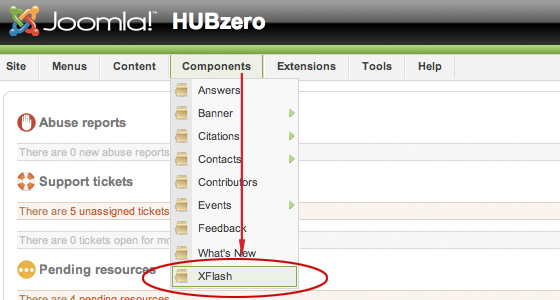
Once logged in, find “Components” in the menu bar located toward the top of the page. You should be presented with a drop-down menu containing items such as “Module Manager”, “Plugin Manager”, etc.
Choose “XFlash” at the bottom of the list.
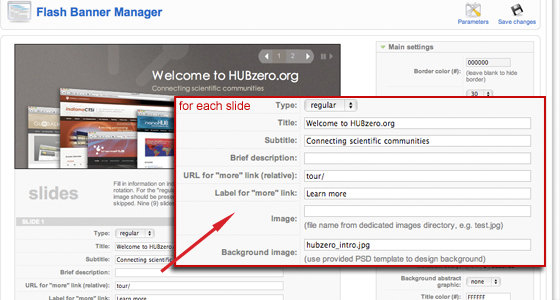
You will be presented with a form to fill in titles, subtitles, brief descriptions, images and label/ URL to a page with additional information for each slide. To ensure best possible display, the maximum number of slides allowed is limited to 9. You have an option of displaying text as dynamic Flash text fields, by filling in titles etc., or you can make text part of the background image. Integrating text as part of the background image gives you the flexibility to move text around within the standard 600×230 px space. To design your images, you can use a Photoshop template that we can provide you with.
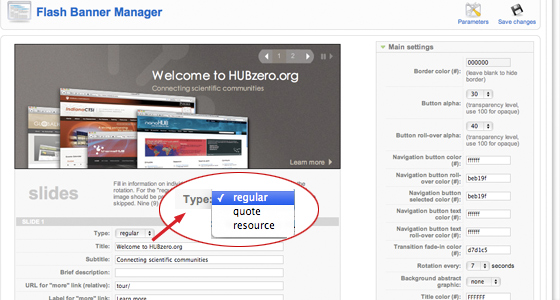
For each slide, you can specify its type: regular, quote or resource. Choose “general” for slides with general announcements. To feature quotes received from users via the hub success story form, select type “Quote”. This will only work if you have quotes available, otherwise the slide will be skipped from rotation. You can also feature resources from your hub, and these will be randomly rotated within the slide with type “Resource”. To enter information about featured resources, use the Featured area at the very bottom of the form. You will need a resource id or alias name for Flash to compile correct URL. By going to Parameters of the XFlash component at the top of the screen, you can specify how many resources you want to feature. This is one good way to include more content within the 9 rotation slides.
If you use images within your banner, either as backgrounds or embedded images, you can upload them through a designated image upload area, and then reference them in the slide edit form by providing the file name, e.g. somefile.jpg. You do not need to specify a directory name, since the upload form will automatically place images in the right spot.
Slideshow (Flash)
--
Sliding Panes (Javascript)
--
Welcome
The “welcome” text, typically found to the right of the Flash banner on the home page is a module. To edit this module (or any module):
First login to the administrative back-end.
Once logged in, find “Extensions” in the main menu bar located toward the top of the page. You should be presented with a drop-down menu containing items such as “Module Manager”, “Plugin Manager”, etc.
Choose “Module Manager” from the available options.
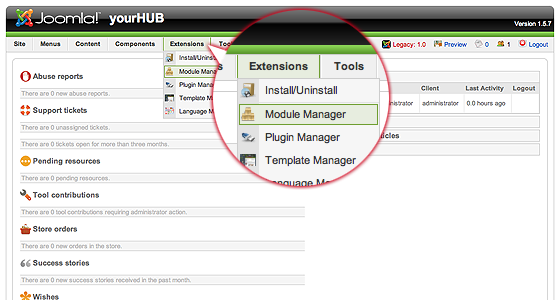
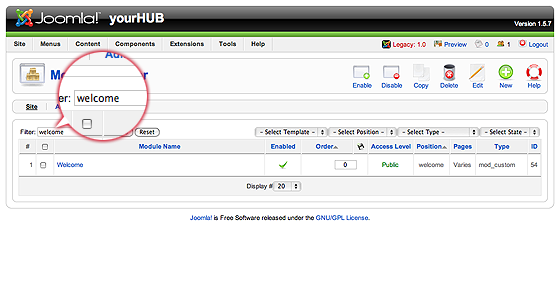
You should now be presented with a list of all the modules installed on your site. There are a variety of methods to find the specific module you wish to edit: you can filter by selecting position, type, or even state (enabled, disabled). The welcome module would be in position “welcome” and of type “mod_custom”. You may also search for “welcome” in the filter search box or scroll to the bottom of the page and navigate your way through the entire list. Since modules are alphabetically sorted by their position by default, “welcome” will most likely be on the last page of results. Once found, click the module name to edit it.
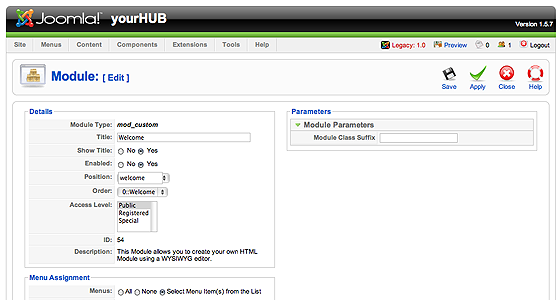
Once in edit mode you will be presented with some options such as the title, position, etc. To edit the actual content of the module, scroll down until you see a large text area called “Custom Output”.
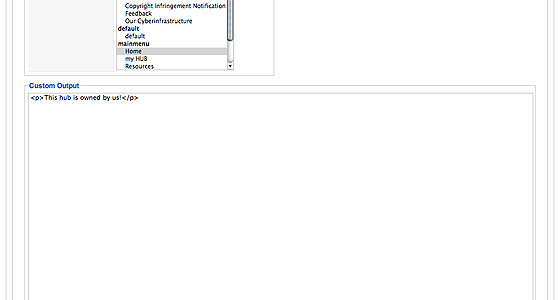
Edit the HTML/text to be outputted.
Scroll back to the top of the page and click “Save” (the icon that looks like a floppy disk) in the upper right portion of the page.
Your changes should now be applied and immediately viewable on the front page.