Menus
Organizing Your Articles Using Menus
If you have a set of articles that you would like to group together, you can use Joomla! menus to organize those articles in an easy-to-navigate fashion.
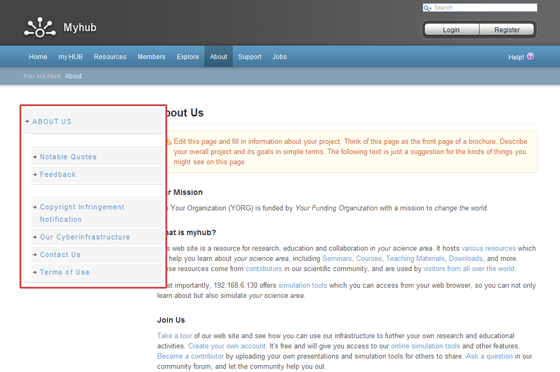
An example of this can be found on the default hub under the About (yourhub.org/about) section (see also below).
- To begin, find the URLs of the articles that you're interested in grouping together
Note: If you can't find, or don't know the URL, it comes from the article alias, the section and the category (see below and view these documentation pages: Sections and Categories, URLs).
- With your article pages created, you'll need to make the menu structure
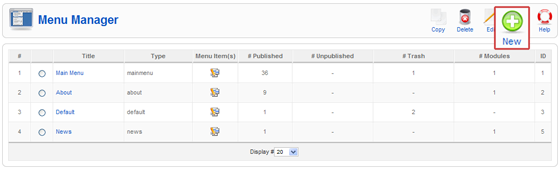
- Navigate to "Menus -> Menu Manager" on the Joomla! backend and select "New"
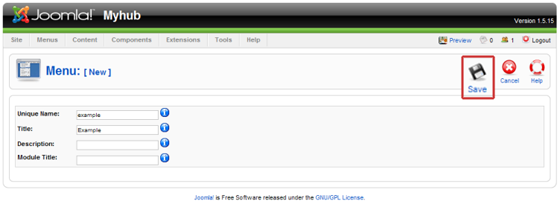
- Give your new menu a unique name and title, then click "Save"
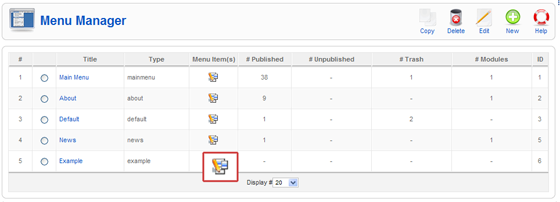
Now you will see your new menu in the list.
- Click the icon indicated below to start adding menu items to your new menu
Note: It is important to realize, for clarity's sake, that there is a different between "Menu" and "Menu Item". "Menu Item" represents an instance, or individual menu link, while "Menu" represents the entity as a whole.
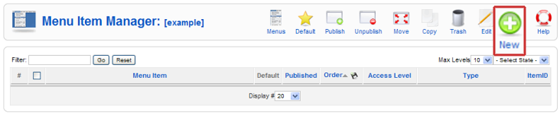
- Now click the "New" button to add new menu items to your menu
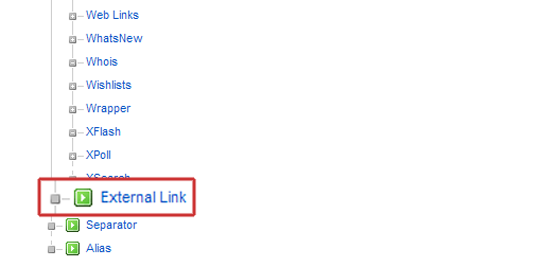
- After clicking "New", scroll down and select "External Link"
- Next, fill in the necessary information
- This is where you'll need to remember the URLs for the articles that you've created (you'll add the URL to the "Link" field)
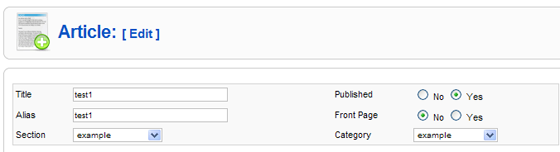
- After creating this menu item, you'll be able to access this article page via the URL for the article, or the Alias of the menu item
For example: according the screenshot below, both http://yourhub.org/example/examplearticle1 & http://yourhub.org/article1 will work when trying to access this page via the browser (See URL Redirects for more details). For the navigational menus to display properly, though, you'll want to use the menu item alias when trying to access your article page (http://yourhub.org/article1 in this example).

- Click "Save" in the upper right-hand corner
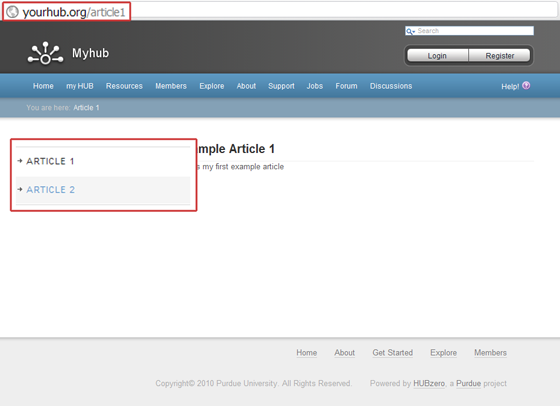
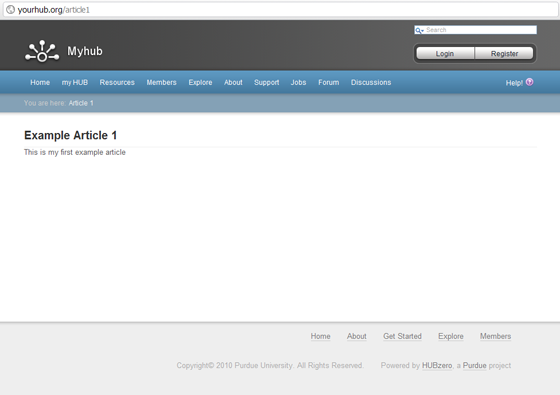
If you switch over to the front-end and navigate to your article page (via the menu item URL), you should see a page similar to this one:
- At this point, simply repeat the previous steps to create menu items for all of the articles that you want to use together
The final step in this process is to assign the menu items that you've created to display on the article pages.
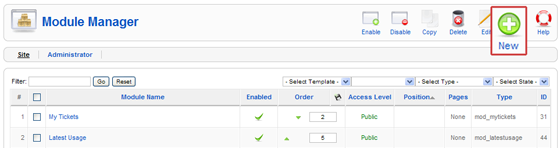
- To do this, navigate to "Extensions -> Module Manager" on the backend Joomla! interface
- Next, select "New"
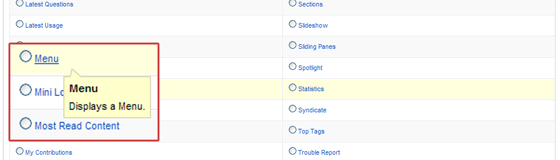
- Scroll down and select "Menu" from the list (either click on the link, or select the radio button then scroll back up and click "Next")
- Now fill in the correct information...make sure to:
- Give it a "Title"
- Be sure "Enabled" is set to "Yes"
- Give it the position "Left"
- Set it to display on the correct pages
- Under menu assignment, "control click" the menus items that we made in the preceding steps. This is what tells Joomla! which pages to display our new menu on.
- Under "Module Parameters", "Menu Name" should be the title of the menu that we created earlier ("example" in this case)
- "Menu Style" should be "List"
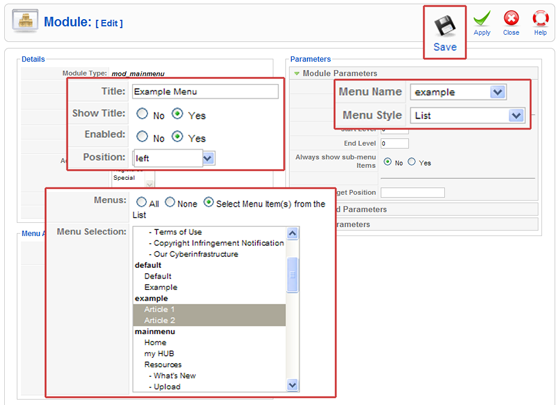
- When all of this has been done, click "Save"
- Now if you navigate back to your article page on the front-end, you should find something similar to this: