Publications
Creating a Publication
Note: You must be logged into your HUB account to create a Publication.
Start a Publication
- Navigate to https://yourhub.org/publications.
- Click Start Publishing.
- On the Publications: Submit page, click the Start a new Publication link.
Note: You will notice that there is a Start a new Project link on this page as well. This tutorial focuses on creating a stand-alone Publication NOT created within a Project, so ensure you use the Start a new publication link.
There are many benefits to creating publications through a Project, discussed in the last section on this page.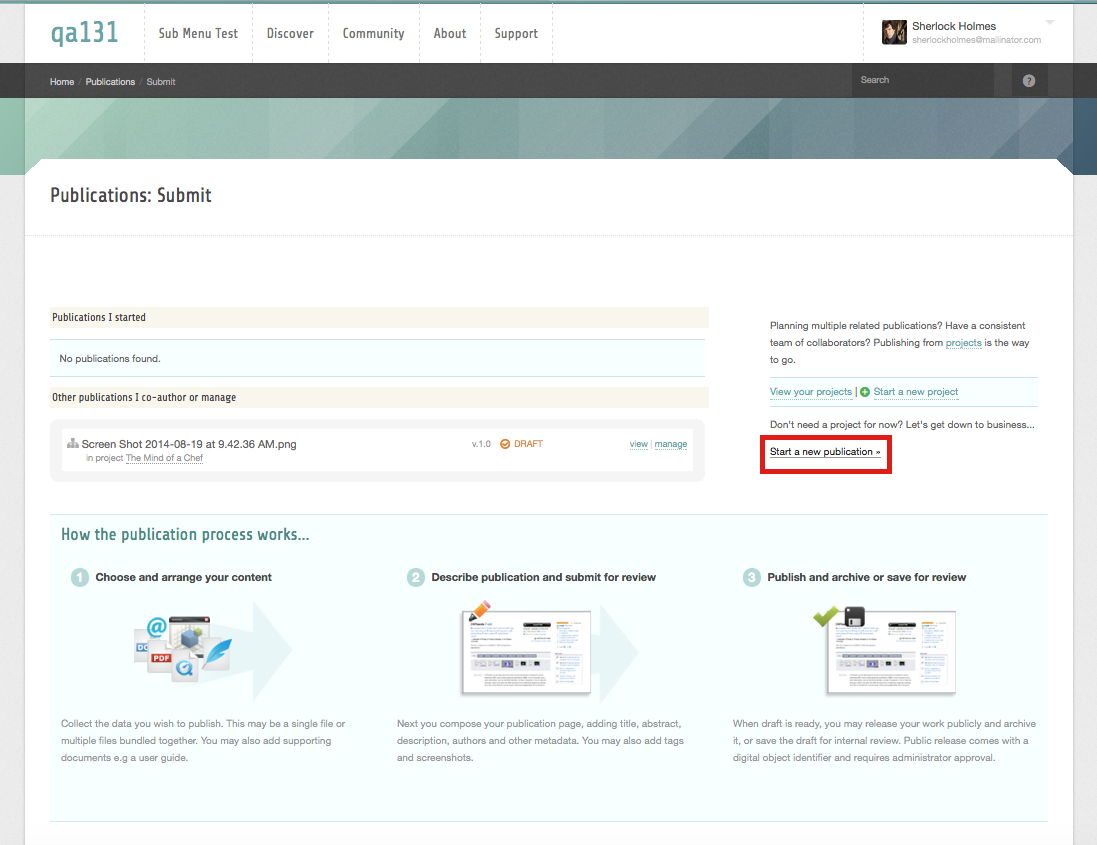
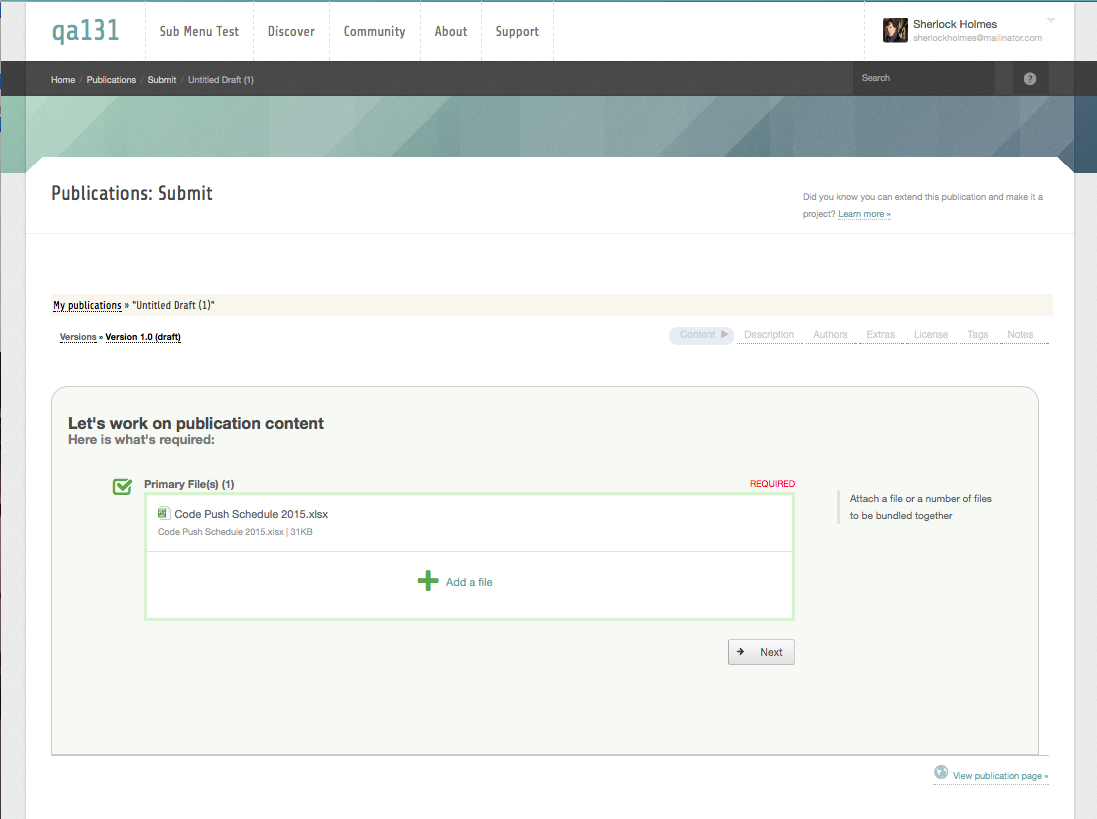
Select the Primary Content
- Click Browse underneath Select File(s)
- Choose the file you want to include and click Open.
- Click Upload.
- Repeat the steps above to upload multiple files.
- The files that have been uploaded will be listed underneath the Select File(s) section. Click on the name of the file(s) you want to include in the publication.
- The file(s) that are to be included in the publication will have a green checkmark next to their name and will display underneath the Publication Primary Content box on the right side.
- Click Save & Continue to move to the next step.
Select Supporting Materials
- Click Browse underneath Select Supporting Materials
- Choose the file you want to include and click Open.
- Click Upload.
- Repeat the steps above to upload multiple files.
- The files that have been uploaded will be listed underneath the Select Supporting Materials section. Click on the name of the file(s) you want to include.
- The file(s) that are selected to be included as Supporting Materials will have a green checkmark next to their name and will display underneath the Publication Supporting Materials box on the right side.
- Click Save & Continue to move to the next step.
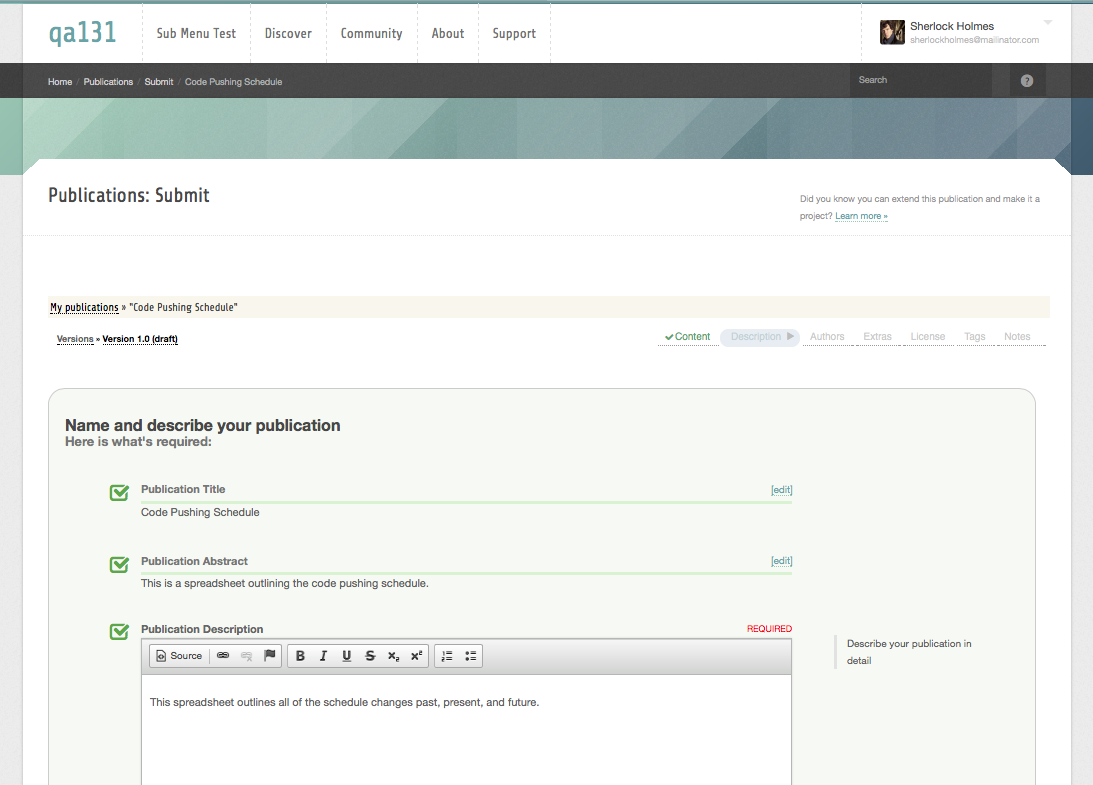
Describe the Publication
- Type a descriptive yet concise title in the Title text box.
- In the Synopsis text box, provide a brief summary on the publication. This summary will show in search results, and is limited to only 250 characters.
- In the Abstract/Description textbox, you can provide a more detailed summary.
Note: The Abstract/Description textbox should be used to provide the reader information about the publications purpose, and should not be used to deploy the publication's content.
- Click Save & Continue to save your changes and continue to the next step.
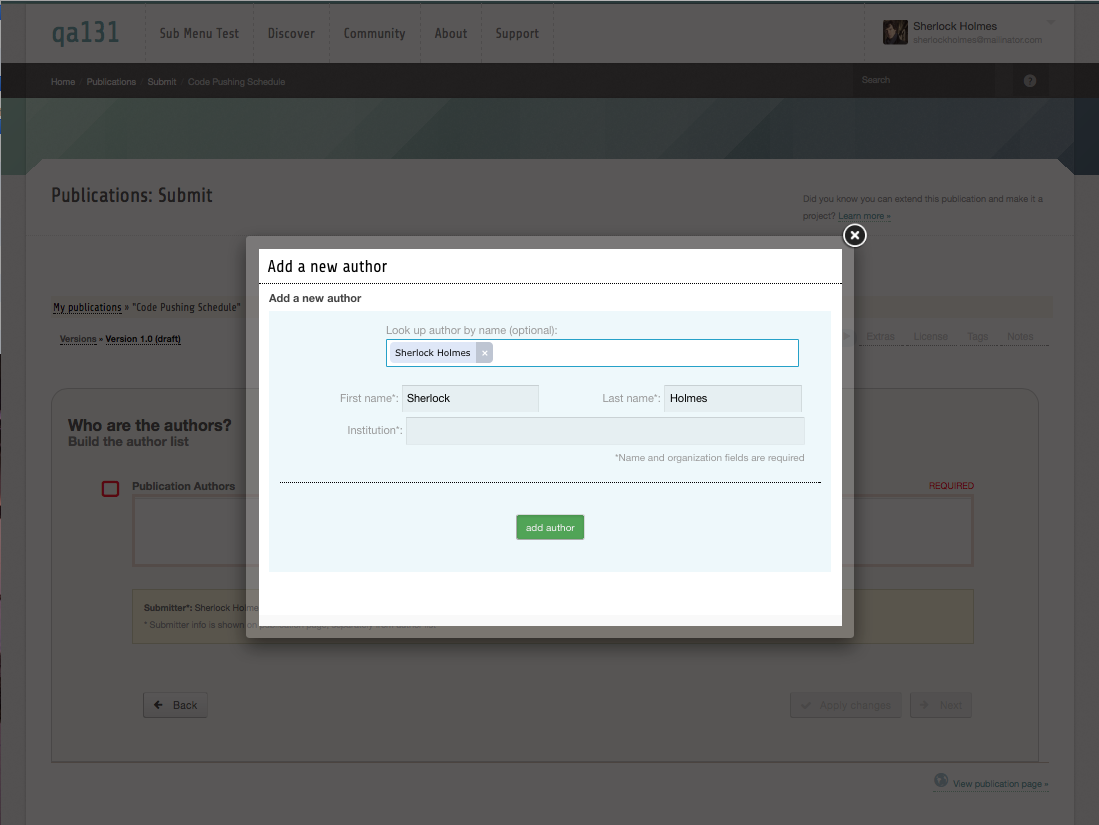
Add Author(s)
- Under the Add Author(s) section, click the name of the user you'd like to add.
Note: If you are adding a Publication from a Project, then all Project team members will be listed.
- If you do not see the author listed, type in their first and last name in the text below below.
- A box will show suggestions below of authors that have an account on the HUB.
- If you see their name in the suggestion box, click the name to quickly populate the text box.
- Once you have either found the name as a suggestion or typed the name in manually, click Add.
- In the box that appears, ensure the name looks correct and type in the author's institution. Optionally you can provide the author's e-mail address.
- Click Save.
- All authors that will listed on the publication will show under Publication Authors on the right side, as well as have a green check mark on the left.
- If you want to change the order which the authors are listed, click and drag the author name on the left side and move the name up/down the list.
- If you want to remove an author, click the author's name on the left side so that the green checkmark no longer shows next to the name.
- Once you are satisfied with the list of authors, click Save & Continue to move to the next step.
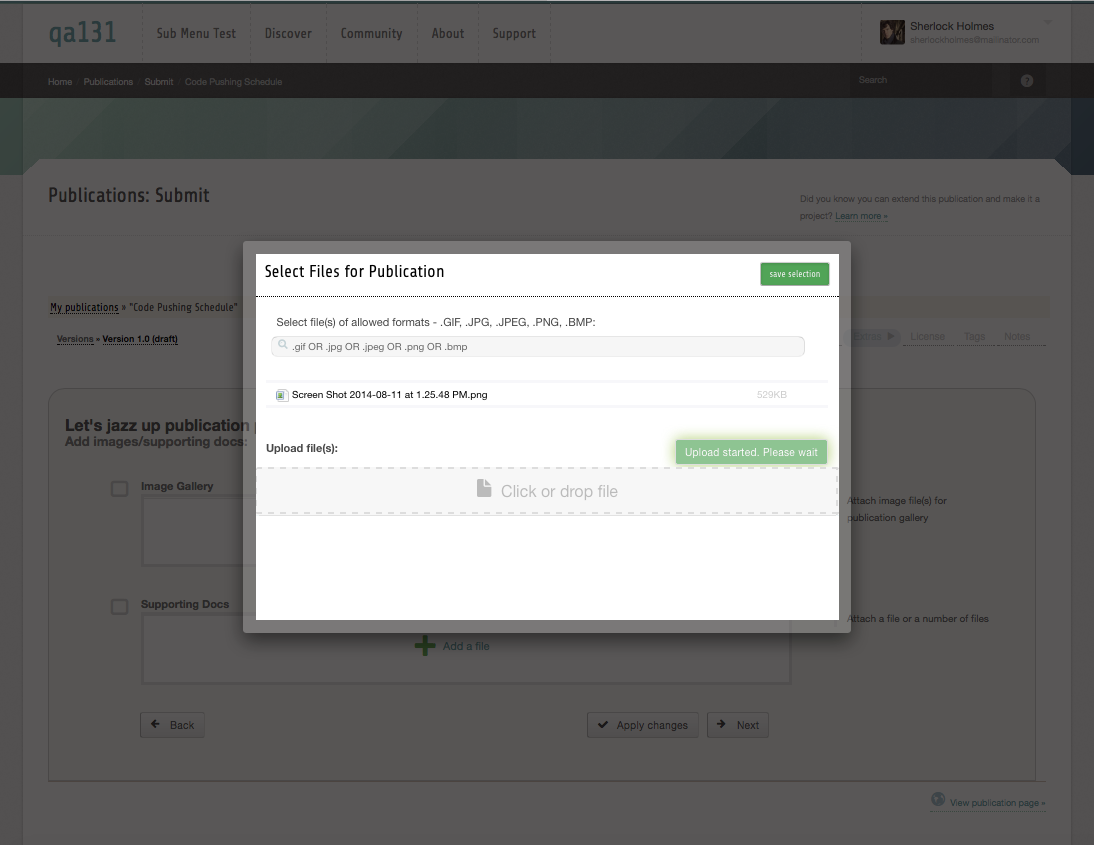
Add Gallery Images
- Click Browse underneath Add Gallery Images
Note: Accepted image formats are PNG, JPG, JPEG, GIF, and BMP
- Choose the image you want to include and click Open.
- Click Upload.
- Repeat the steps above to upload multiple images.
- The images that have been uploaded will be listed underneath the Add Gallery Images section. Click on the name of the images(s) you want to include.
- The image(s) that you selected to be included in the Gallery will have a green checkmark next to their name and will display underneath the Publication Gallery box on the right side.
- Click Save & Continue to move to the next step.
Add Tags
- On the left side will be a list of suggested tags. Click on any tags that are related to your Publication.
- Click the More Suggestions link to browse through other existing tags
- To provide additional tags that may have not been listed, type in a keyword in the Publications Tags box.
- Type a comma or press Enter after typing a tag word or phrase to provide additional tags.
- Under Category click the radio button next to the Category that best fits the publication.
- Click Save & Continue to save the tags and move to the next step.
Choose License
- Under the Select a License box, click on the license you want to use.
- A green check mark will appear next to the license that has been chosen.
Note: If you want to add a custom license, click the Custom link below the listed licenses, and replace the template text in the text box that appears with the appropriate information.
- Click the Read license terms link to review the license.
- After reviewing, check the box next to I have read the license terms and agree to license my work under the <License Type> License to confirm you have read it.
- Click Save & Continue.

Add Citations to Related Resources
- If the related resource has a DOI, type it in the textbox.
- A preview of the citation associated with that DOI will appear below.
- If you want to add this citation, click Add Citation.
- You can repeat the steps above to add additional citations.
- Alternately, if the citation does not have a DOI, click Enter Manually -> fill in the requested information -> click Save Citation when finished.
- When finished adding citations to related resources, click Save & Continue.
Add Release Notes
- In the text box, you can type in any notes related to this specific version of the Publication.
- Click Save & Continue.
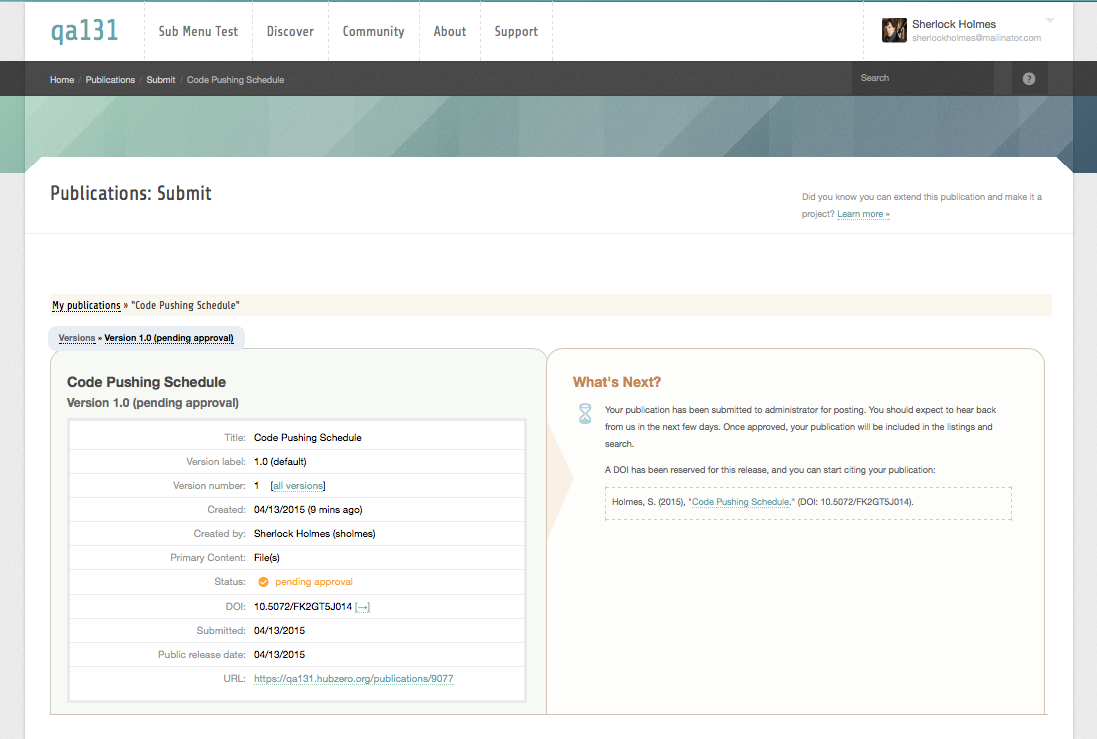
Review and Submit
- On the Publications: Submit page you can review your publication.
- You can edit any of the steps by clicking on the link of the section name you want to change (e.g. Description, Authors, Content, etc.)
Note: Areas that are incomplete will show in red text with X's next to the section name.
- When you are ready for your publication to be published click Review & Submit to be Published.
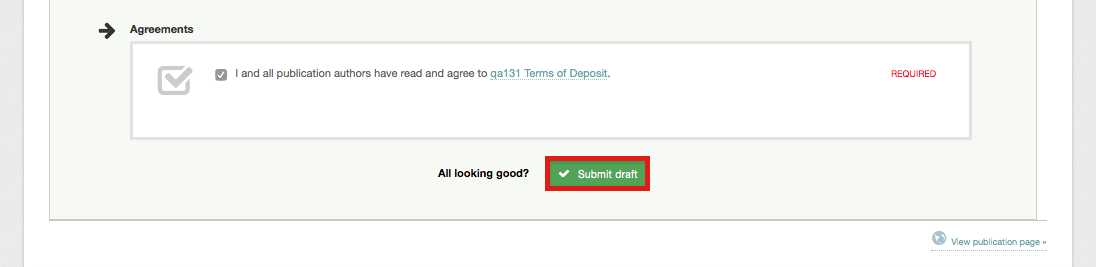
- Ensure all publication authors have read the Terms of Deposit, viewable by following the Terms of Deposit link, and then select the radio button next to I an all publication authors have read and agree to <HUB> Terms of Deposit.
- Click Submit draft to be published.
Publication Through a Project
Benefits
Creating a publication through a Project has many benefits, including:
- Allows for a consistent team to collaborate on a Publication or set of related Publications.
- Using the Publications feature through a Project allows Databases to be added to a Publication for public viewing.
- Google Drive integration with Projects allows you to published files directly from your Google Drive.
- Project team members will automatically show in the list of authors to choose from, making it easy to add the same authors to several different Publications.
- Gives related Publications a shared public Projects page that users can view to look at related Publications that were a part of the same Project.
Creating a Publication Through a Project
- Navigate to the Project you'd like to use to create a Publication. If you want to view a list of Projects you manage or be able to create a new project go to https://yourhub.org/projects.
- Click Publications on the left menu bar inside the project.
- Click Start a New Publication.
- Select either File(s) or Databases depending on what you'd like to publish.
- Now the Publication steps will be the same as in the previous section, except for some areas will get pre-populated with choices based on what exists in the Project.
Any area where you choose a file (e.g. Primary Content, Supporting Materials, Image Gallery) will be pre-populated with files that are included in the Project. The authors list will also be pre-populated with Project team members as options.
Curation Workflow
Curation: Assign Reviewers to Publications
- Navigate to http://yourhub.org/publications/curation to view the list of Publications pending review.
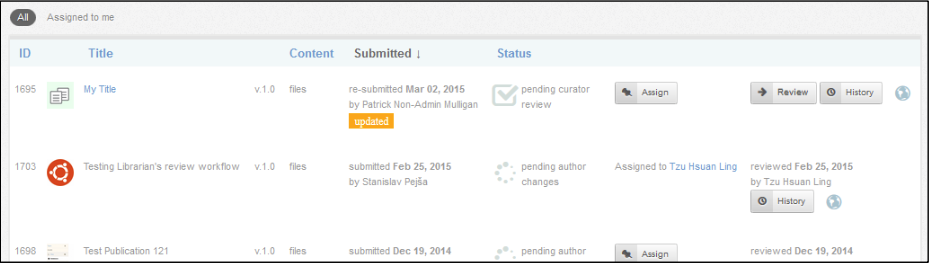
- Click Assign to delegate the task of curation to a member of the HUB.
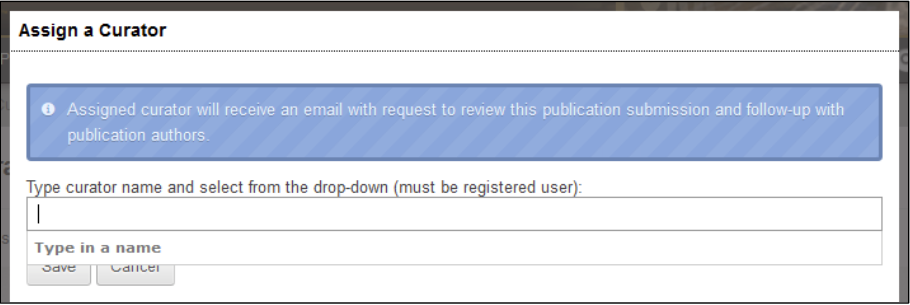
Note: Anyone with an account on the Hub can be assigned to review a Publication. IF the user is not a member of the curator's group, they will only have access to review the Publications which they are assigned.
- Type the name of the member being assigned this Publication in the text box and click Save.
Reviewing a Publication:
- Click Review next to a publication to start the review process on that publication.

- All items and context will be listed, Click the Looks Good button (the checkmark) next to an item to approve it, or click the Requires Changes button (the no symbol) to indicate the item needs changes.
- If the publication has already been reviewed once before, the author may have disputed changes. This will show as a yellow Changes required button with the author comments shown on the page.

- If additional changes are needed, type and explanation in the textbook that appears and click Request Changes.

- Once all items have been reviewed, click the button that lights up on the bottom blue bar. Approve Publication will only appear if all individual items were approved. Otherwise, click Kick back to authors.

Author: Make Requested Changes:
- Navigate to the link provided in the e-mail notification that the publication has been reviewed, or go to the Publications list inside the project.
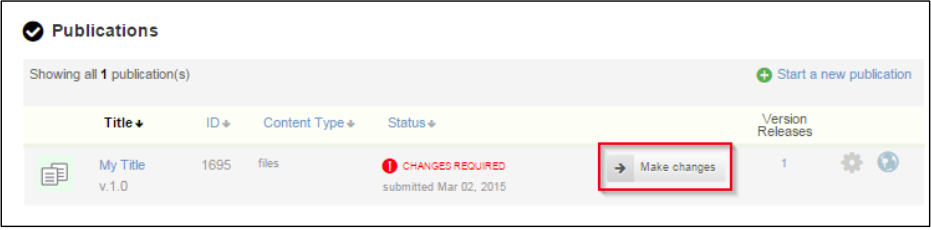
- Click Make Changes.
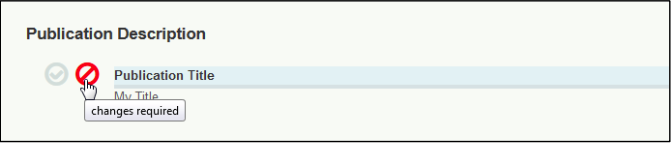
- The areas that require changes will show in red text with an X next to the title of the area.

- Requested changes must be made or disputed in order to re-submit.
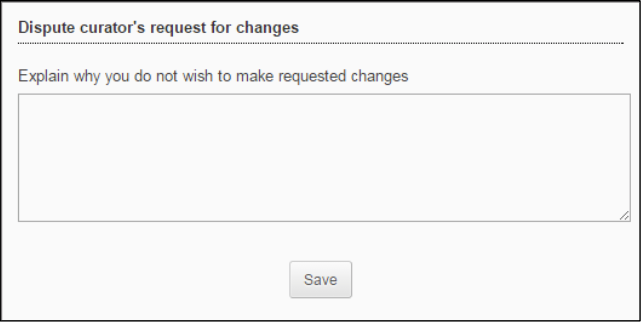
- Click the Dispute this link next to an item in order to dispute a requested change.
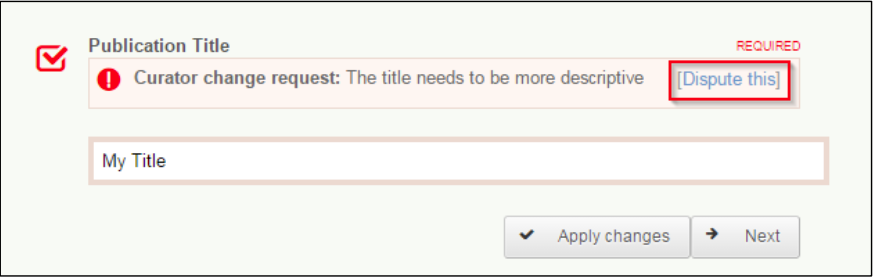
- Type the reason for disputing in the text box and click Save.
- Once all areas have a checkmark next to them and are either green (Changes were made/no changes required) or yellow (changes were disputed) the OK to submit link will appear.

- Click OK to submit. Finish providing the requested information and click Re-submit draft to be published.
- The reviewer will now be able to view all changes or disputes.