If you would like to add a new page to yourHUB, then you must add it through the back end control interface.
First, login as an administrator and then choose ‘Menu Manager’ from the “Menus” menu on the horizontal menu bar at the top of the control interface.

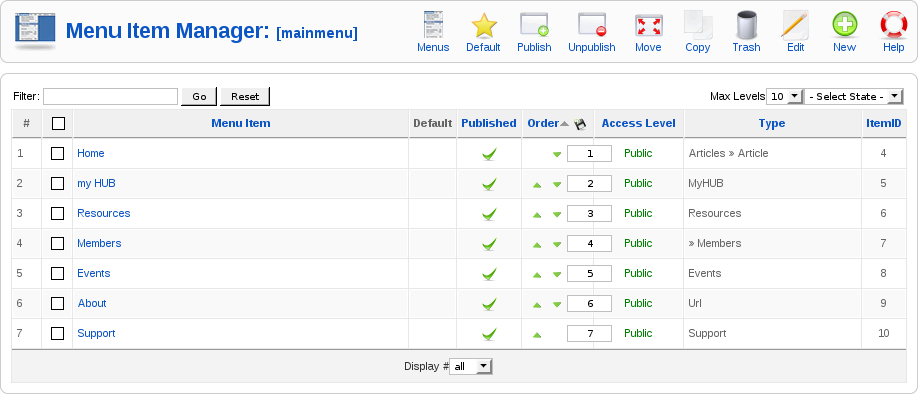
The menu manager should appear and look something like this.


At this point, we must decide where to put our new page. In this example, we are going to link to our new page from the main menu. We will call the new menu button “Conference Attendees” and create a page full of information about an upcoming conference.
Notice the three titles; Main Menu, About and default which are listed in the first column of the Menu Manager interface. Since we want to link to our conference attendees page from the main menu, we must edit the “Main Menu” menu. Click the ‘Edit Menu Item(s)’ icon  in the row associated with the ‘Main Menu’, row number one.

When you click the ‘Edit Menu Item(s)’ button, the Menu Item Manager interface should appear.
Near the top right of the screen, click the “New” toolbar button  to add a new menu item.
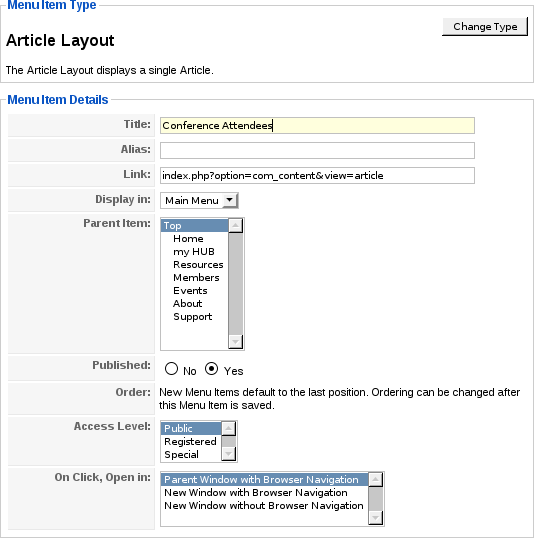
The new menu item interface should appear.

Select Internal Link > Articles > Article Layout to insert an article. The next screen which appears will indicate we have selected “Article Layout” as the ‘Menu Item Type’. Now we are ready to add details to our new menu item.
If you haven’t already written the new article which the new menu item will link to, you must create it now. Please refer to AddingAnArticle for more information. Otherwise, if your article already exists, please continue.
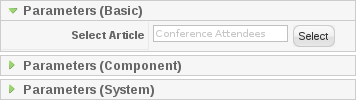
The ‘Parameters’ window on the right side of the screen is used to specify many of the options associated with creating a new menu item.
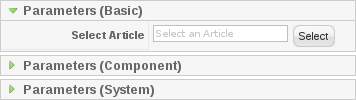
Click the ‘Select’ button and a new window will appear.
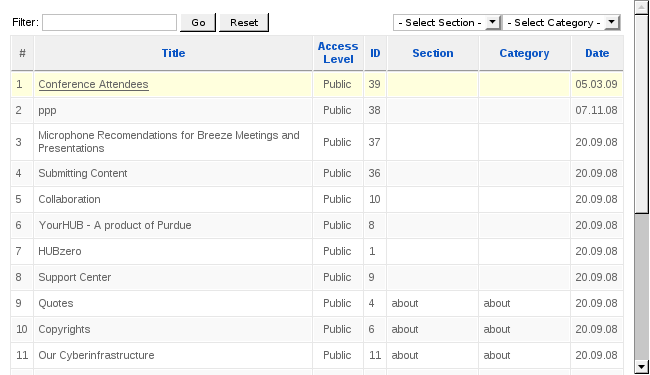
This is where you specify which article the new menu button will link to. In this case, I have an article titled “Conference Attendees” which was authored specifically for this demonstration. After selecting this article, the ‘Parameters (Basic)’ window will indicate the “Conference Attendees” article has been selected.
Now click the save button  on the toolbar.
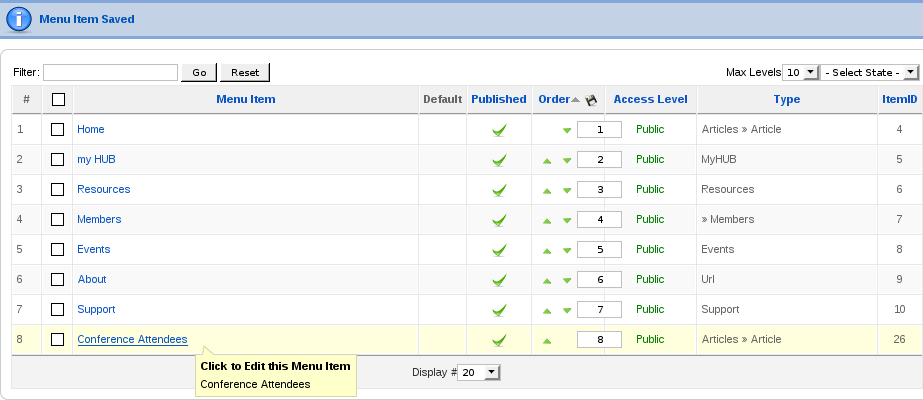
The new menu item will be created and the Menu Item Manager will appear again, indicating Conference Attendees has been added to the menu at the bottom of the order.
Check now to ensure the horizontal menubar on your homepage has been updated. If you used this demonstration as a guide, your horizontal menubar should now look like this.

Click the ‘Conference Attendees’ button on the menu to ensure the article appears.
Congratulations, you have successfully added a new page.