Storefront
Overview
There are six main sections that must be completed in order to add a product to the storefront: products, product options, product skus, collections, option groups, and options.
All actions listed here take place in the administrator interface of the hub, similar to https://hubname.org/administrator. Proper administrator privileges and logging in are required.
Storefront component can be found by:
- Log into the administrator interface (/administrator)
- From the Main Menu point the mouse to Components -> Storefront
Some terms that will be helpful:
Control buttons: Always at the top right of a page, but under the logout button. Typical actions include: Save, Save and Close, Cancel, New, Edit, etc.
Alias: Refers to the short name of a name or title that appears in the URL. Does not usually include numbers or symbols. For example, a collection entitled Antivirus & Security Software has an alias of securitysoftware
SKU: Stock keeping unit. Specifies a specific product after options have been selected. For example, the product is ArcGIS, and there may be many SKUs available: ArcGIS Trial Windows 10, ArcGIS Pro Windows 10, ArcGIS Pro Mac OS 10.4+, ArcGIS Pro Linus, etc.
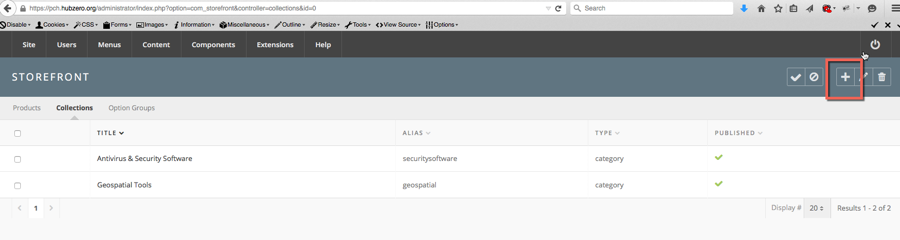
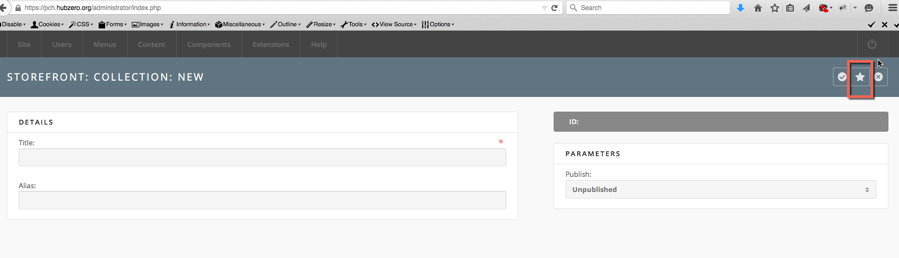
Creating a Collection
- From the Storefront administrator interface , click on the Collections tab
- From the control buttons at the top right of the page, click on the plus icon button (+) to add a new collection
- Enter a collection Title and alias and select it to be Published
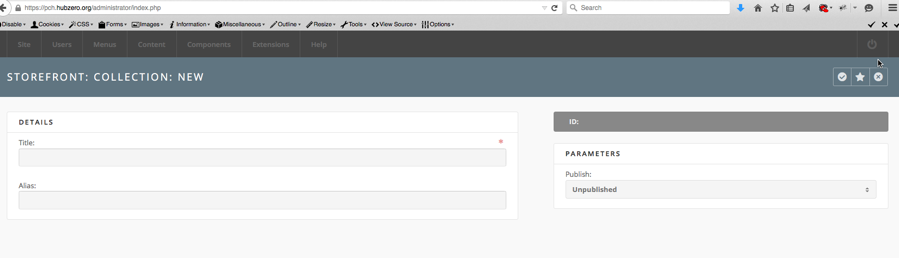
- From the control buttons click on the star icon to Save and Close
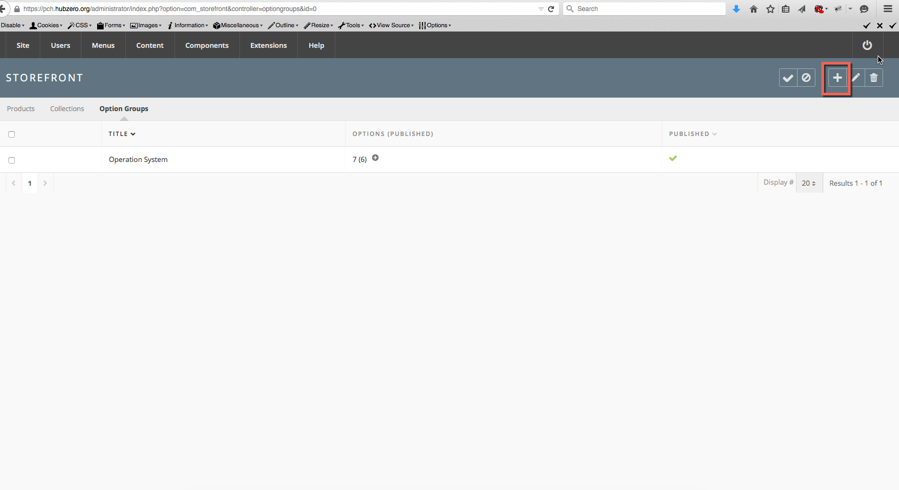
Creating a Option Group
- Click on the Option Groups tab
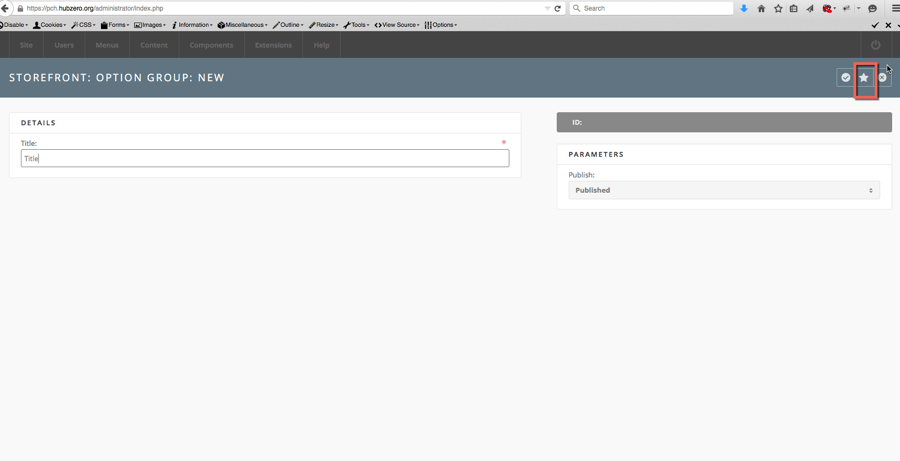
- Click on the control button with the plus icon to create a new Option
- Enter a Title and select it to be Published
- From the control buttons click on the star icon to Save and Close
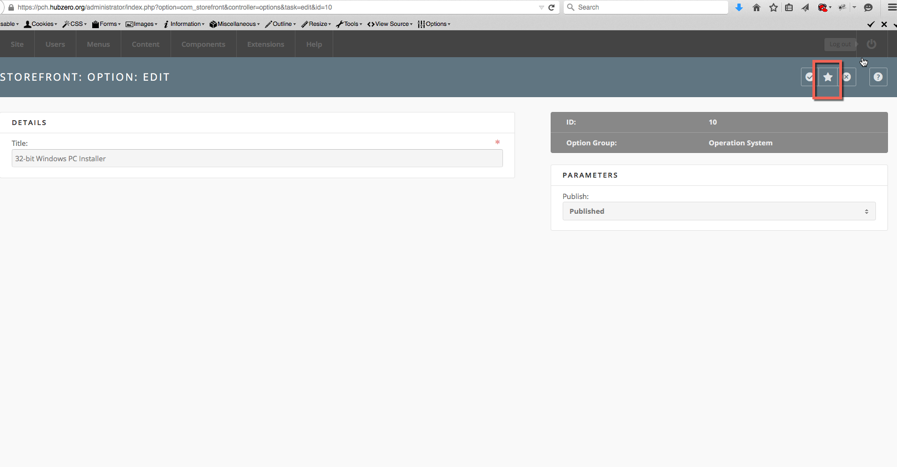
Creating Options
- Creating Options
- Click on the round plus icon in the Option (Published column) to create a new option
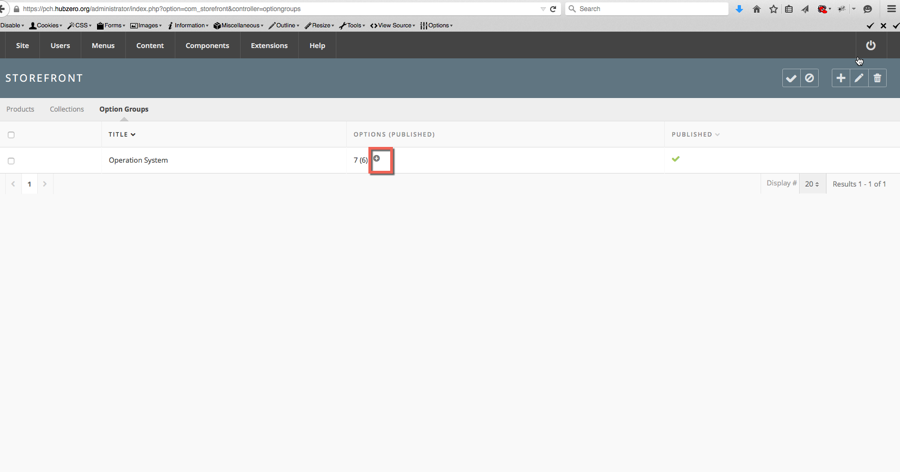
- Enter a Title and select it to be Published
- From the control buttons click on the star icon to Save and Close
- Repeat as needed for additional options.
- Click on the round plus icon in the Option (Published column) to create a new option
Note:Clicking the number in the options column will display the list of all created options that option group.New option may also be added from that page by clicking on the plus icon control button.
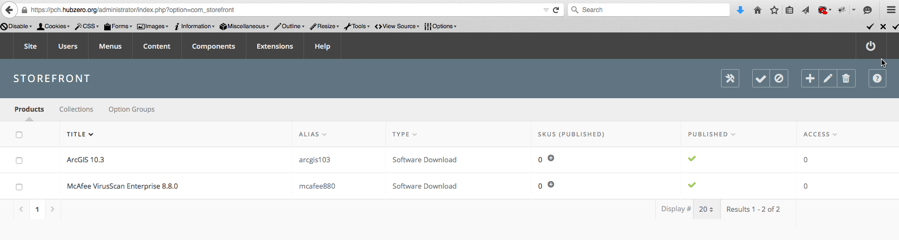
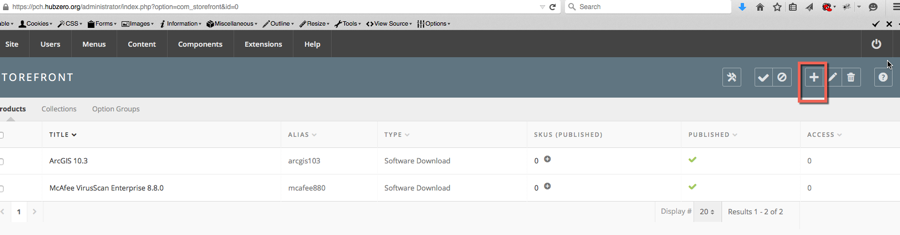
Creating a Product
- Click on the Products tab
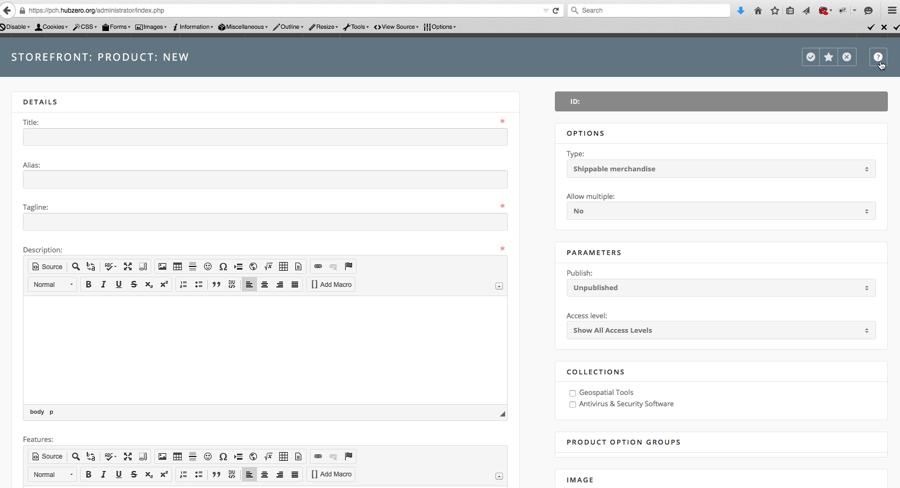
- Click on the control button with the plus icon button to create a new product
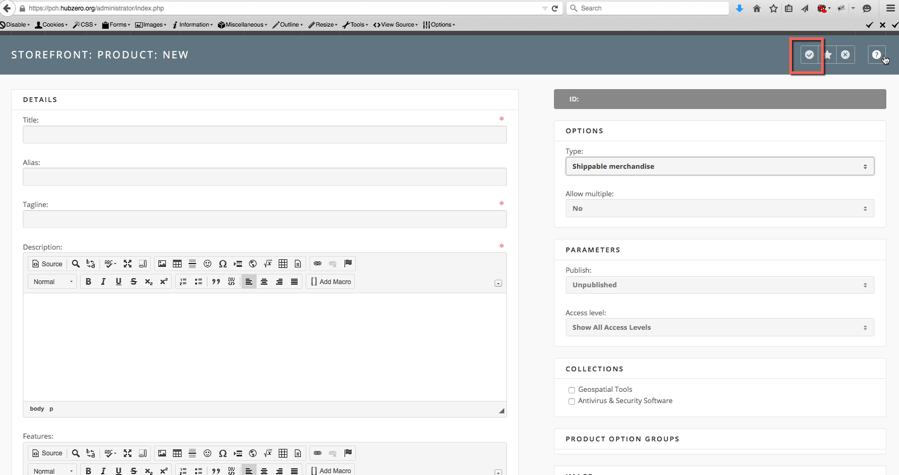
- Complete the required fields and any additional fields. Be sure to select the correct options on the right column of the page
- From the control buttons, click the check icon to Save and for the additional options to appear
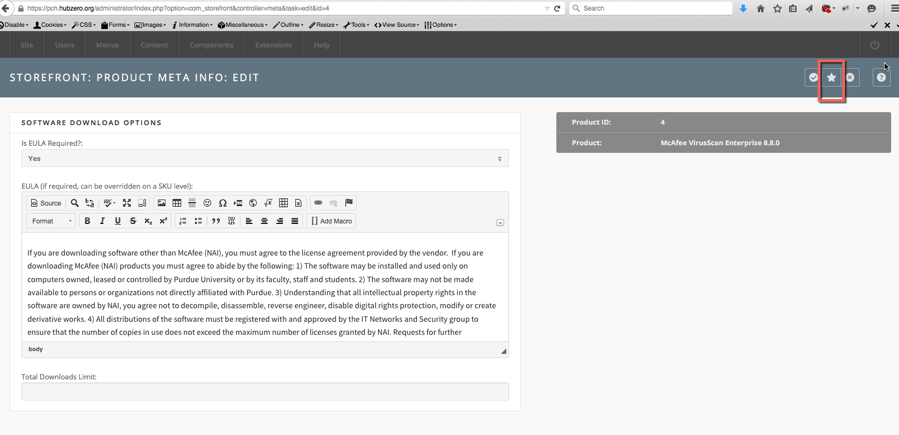
- Click on the Edit type-related options for the EULA , etc
- Enter the desired text and if the EULA is required. When complete, click on the Save and Close star from the control buttons to return to the Product page

- Click on the Save and Close star again to save and close the product
Creating a SKU
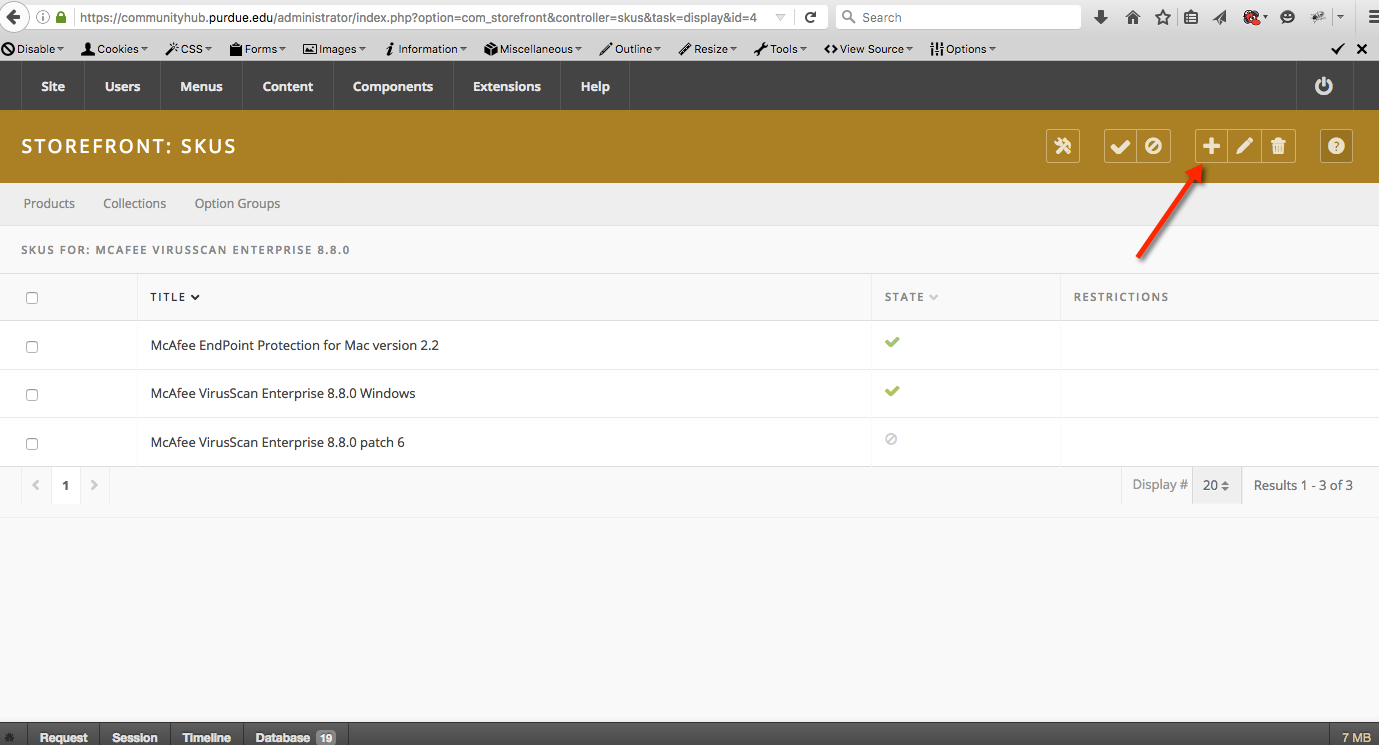
Click on the Products tab and then Click on the number under the SKUS (published) column.

Click the plus icon (+) to create a new SKU
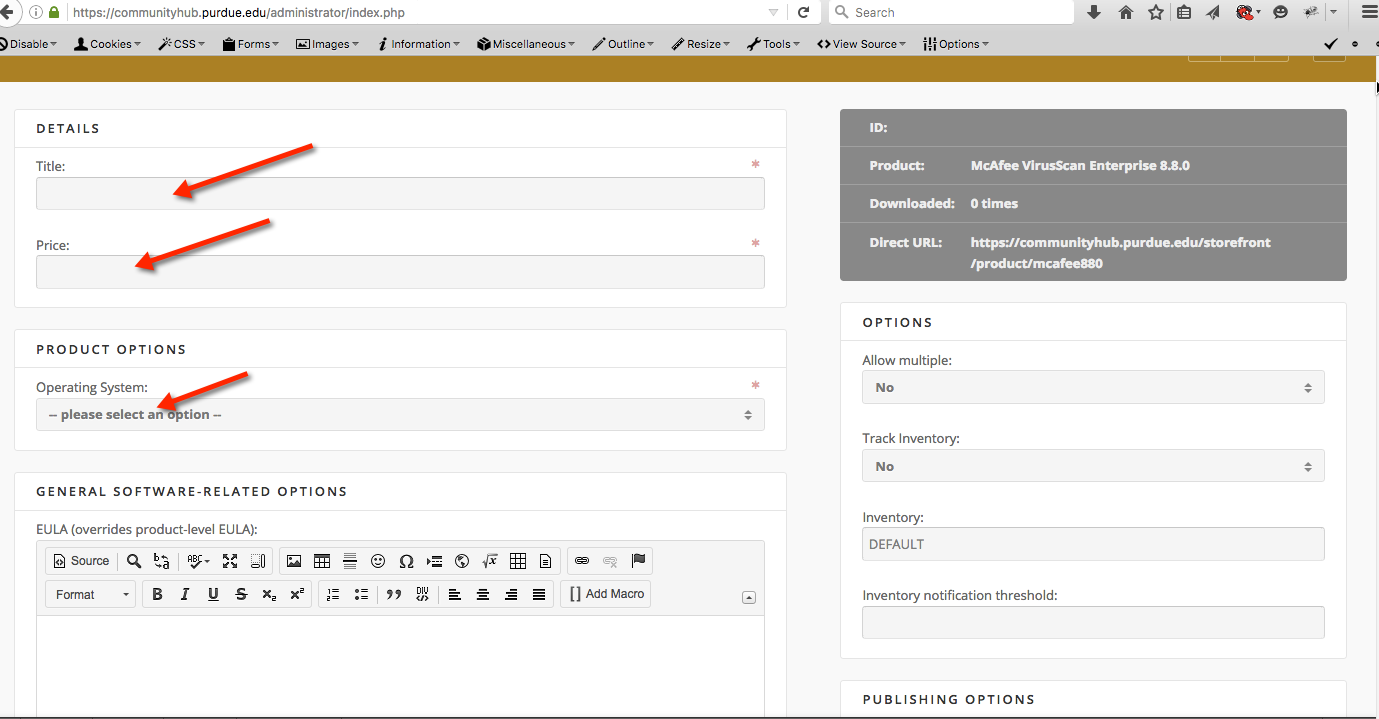
Enter a Title and Price.
Select the individual option created earlier for this specific SKU
Enter an override EULA or any additional product options
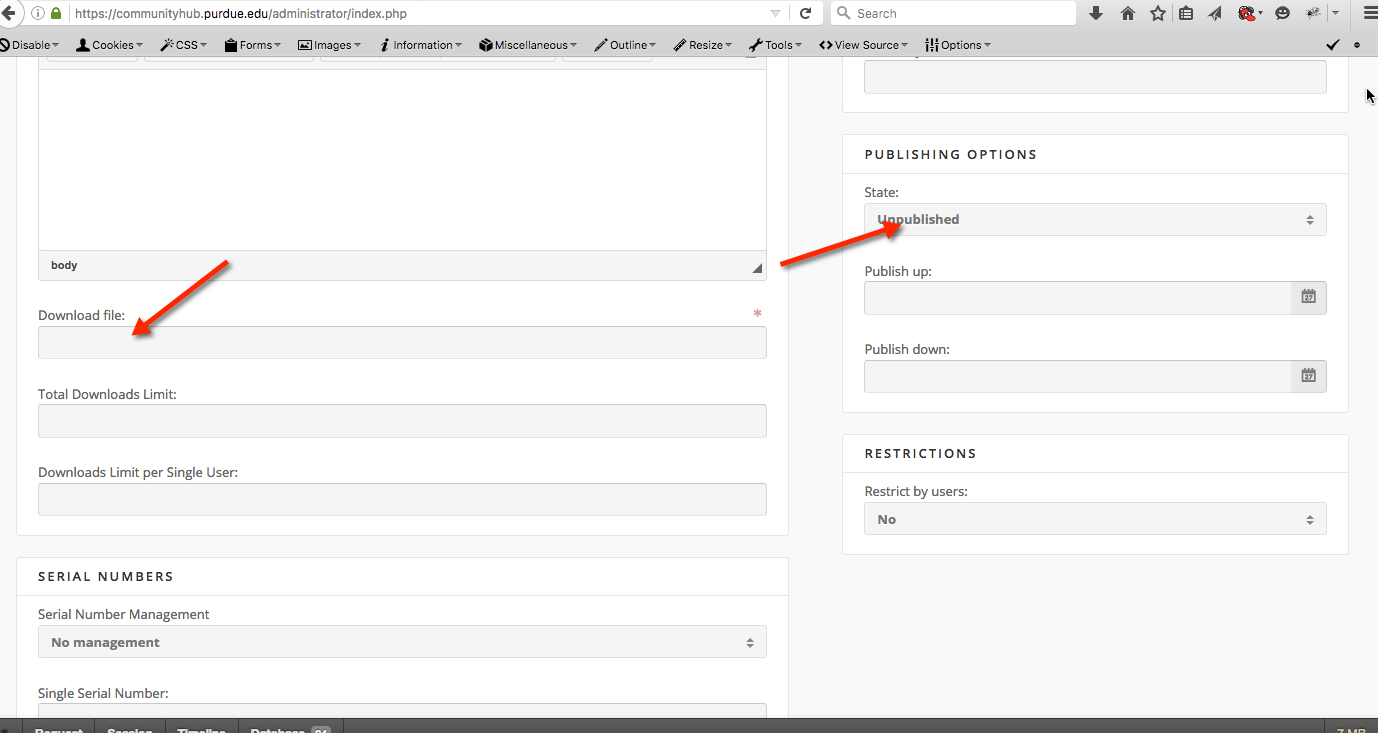
In the right column, select the desired options and select the SKU to be Published
Specify the download file. **See the section on uploading software files below. Be sure not to include any spaces in, before, after the filename
From the control buttons click on the star icon to Save and Close
Note: Clicking the number in the options column will display the list of all created options that option group. New options may also be added from that page by clicking on the plus icon control button.
Uploading Software Files
SFTP access only. Please submit a support ticket to be granted access.
Restricting Products by I2A2 Characteristics
**Currently only for use with the Purdue Authentication plugin.
Setup:
- Create appropriate access groups under the Members section for a one-to-one relationship with an I2A2 characteristic.
- Enable the "User - Purdue User Access" plugin.
- Configure the plugin by pairing an I2A2 characteristic with an access group.
- Save and close the plugin.
Configuring a product.
- Edit a product from the Storefront
- Select the access groups that you wish to have access to this product that are listed on the right side of the page. Selecting multiple checkbox combine the access groups via OR. Selecting an access group of "Students" and "Campus (W. Lafayette)" will allow access to all students with Purdue credentials and everyone on the W. Lafayette campus with Purdue credentials.
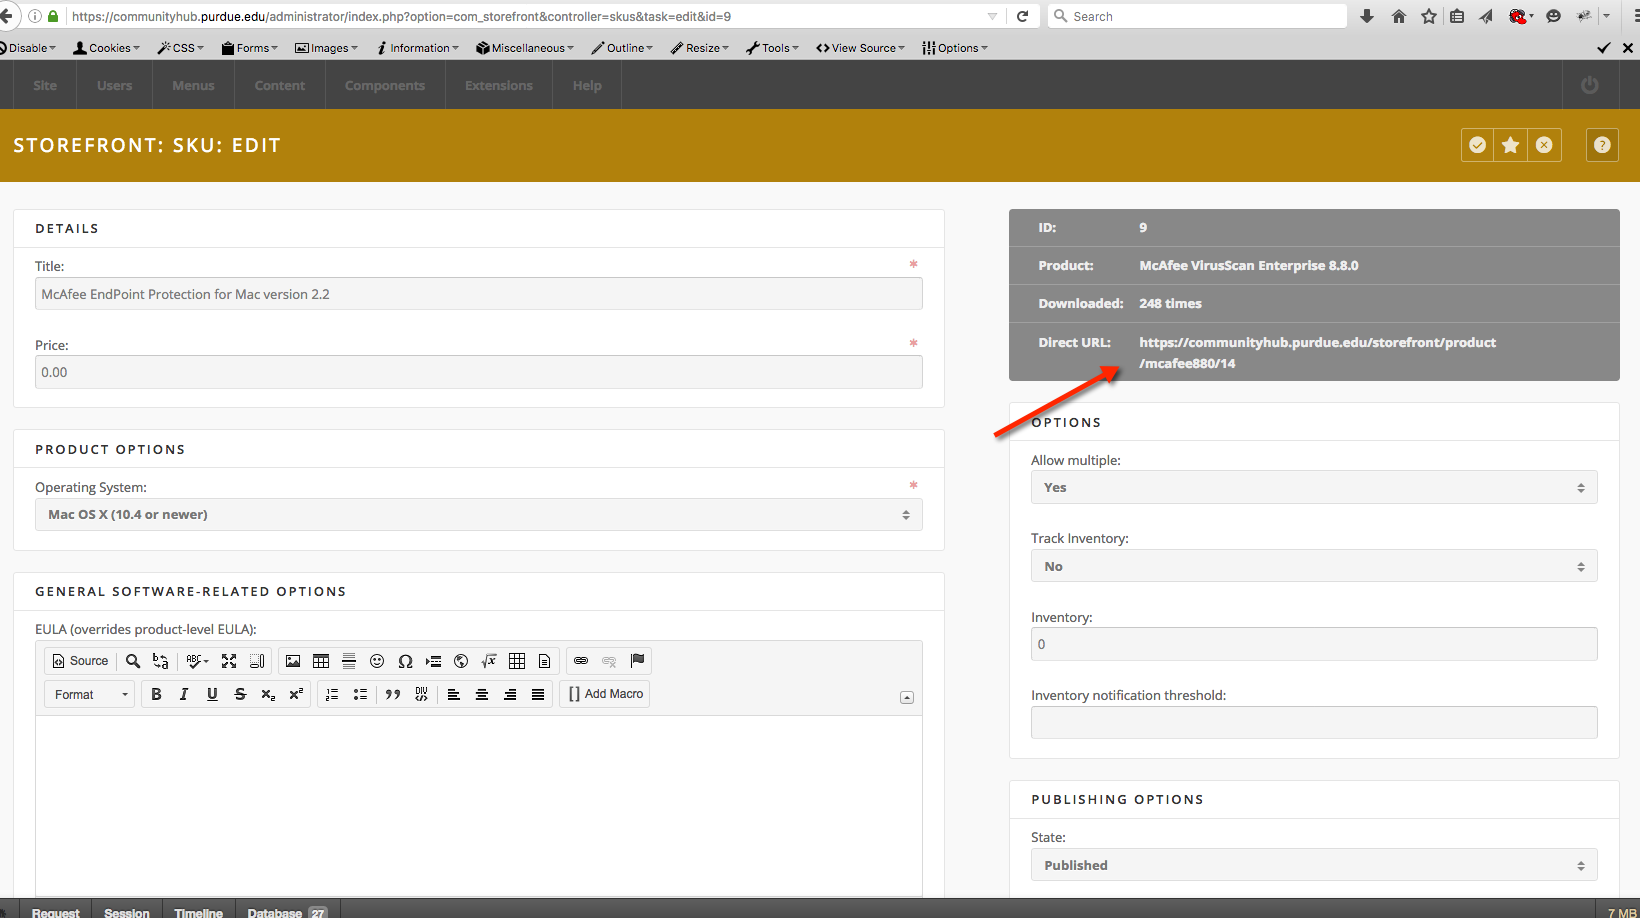
Direct SKU Linking
A direct link to a product SKU is available. This link may be shared to allow someone quick access to a specific item's description page. The direct SKU link can be found when editing a SKU in the info box on the top right of the page with a label of "Direct URL:".
Entering list of serial keys for a product SKU
A single serial or multiple serial numbers (or License keys) can be added to be tracked as inventory for a product SKU.
- Edit a SKU
- At the bottom right of the page find the "Serial numbers" section.
- Select single or multiple.
- Save the page.
- A "Manage Multiple Serial numbers" button will appear. You may enter serials number via that interface or via CSV upload.
Notes:
The ability to enable to disable inventory tracking for the SKU is not available as tracking is automatically and will deactivate serials numbers as they are distributed.
**A inventory notification threshold should also be set to be notified that an inventory of available serial numbers are low.
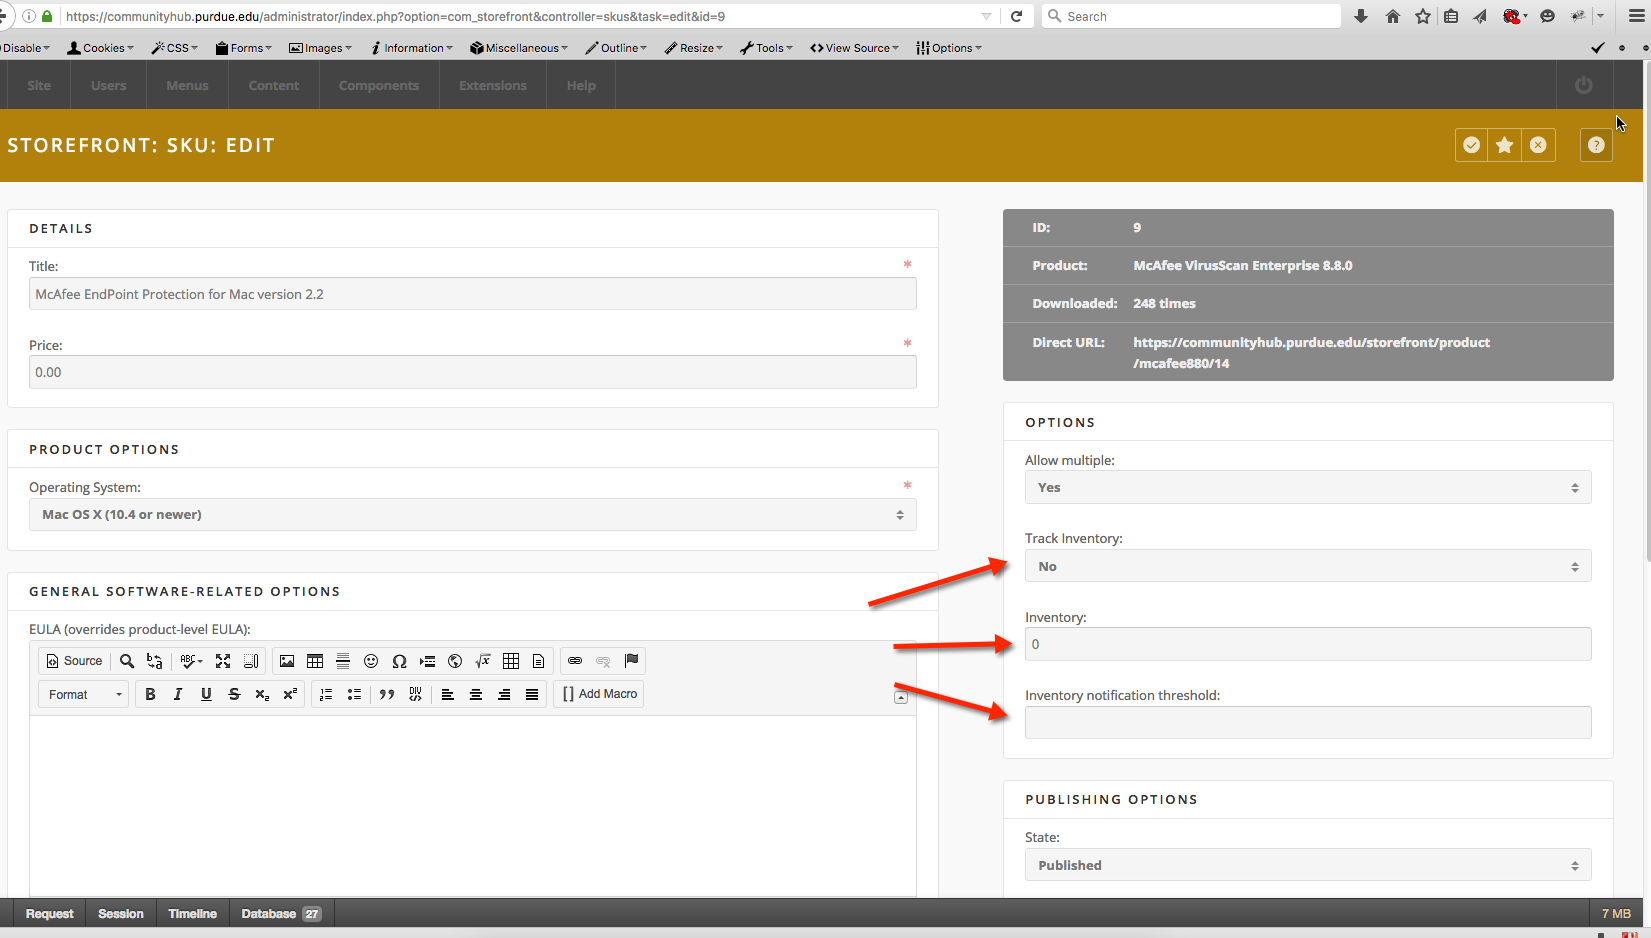
Tracking Inventory of SKUs
Tracking or a count down of product SKUs is available.
- Edit a SKU
- On the right select the "Track Inventory:" to YES. (if Serial Management is on, this option will not be displayed)
- Enter a value in "Inventory:" field.
- Enter a value in the "Inventory notification threshold:" field.
**To receive email notifications when an email address must be entered in the Cart component option field of "Send notifications to".
Restricting a list of usernames for a product SKU
A product SKU may be restricted by a specific list of username.
- Edit a SKU.
- Find the "Restrictions" section at the bottom right of the page.
- Select "Restrict by users:" to YES.
- Save the page.
- A "Manage restrictions" button now appears.
- Enter usernames via the Manage restrictions interface or via a CSV.
Notes. Usernames must exist on the on hub before they can be added to the SKU restriction list. A product access group must also be selected for the SKU's parent product to be able to display in the collection list.
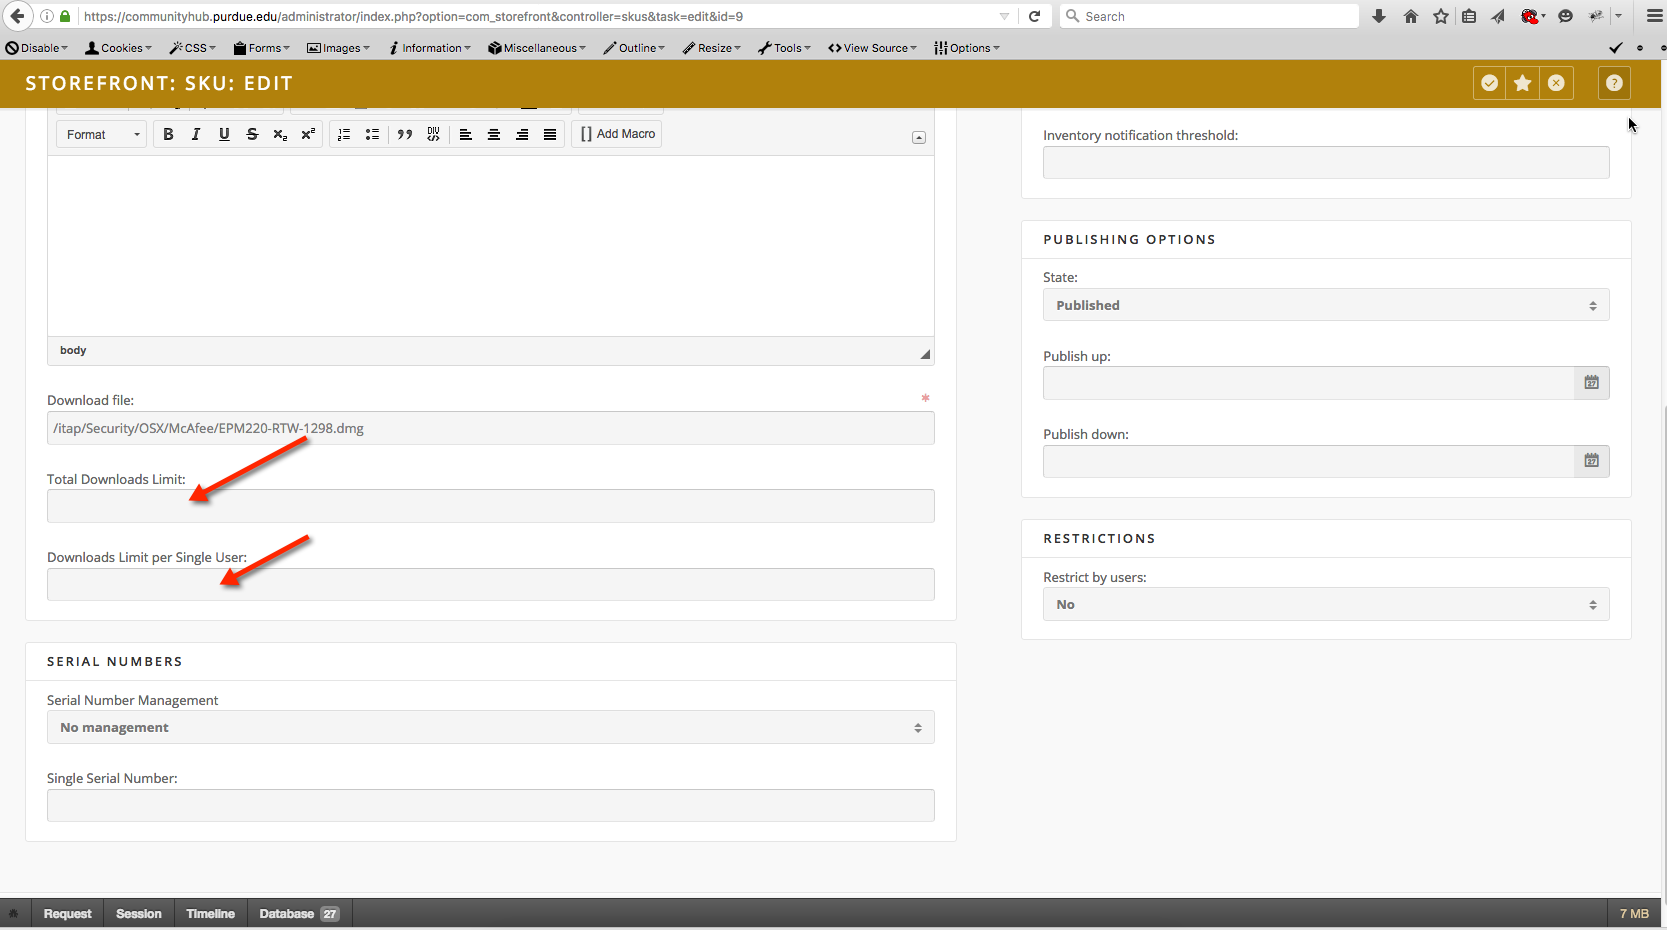
Download / Downloading limiting
The downloading of a SKU can be limited.
When editing a SKU, the "Total Downloads Limit:" will not allow user to download this SKU if the number entered here has been exceed. "Total Downloads" refers to all downloads by all users for the SKU.
When editing a SKU, the "Downloads Limit per Single User:" will not allow a user to download the SKU more than the number entered here.